
RC Workshop Essentials for Better Repairs
01/11/2026
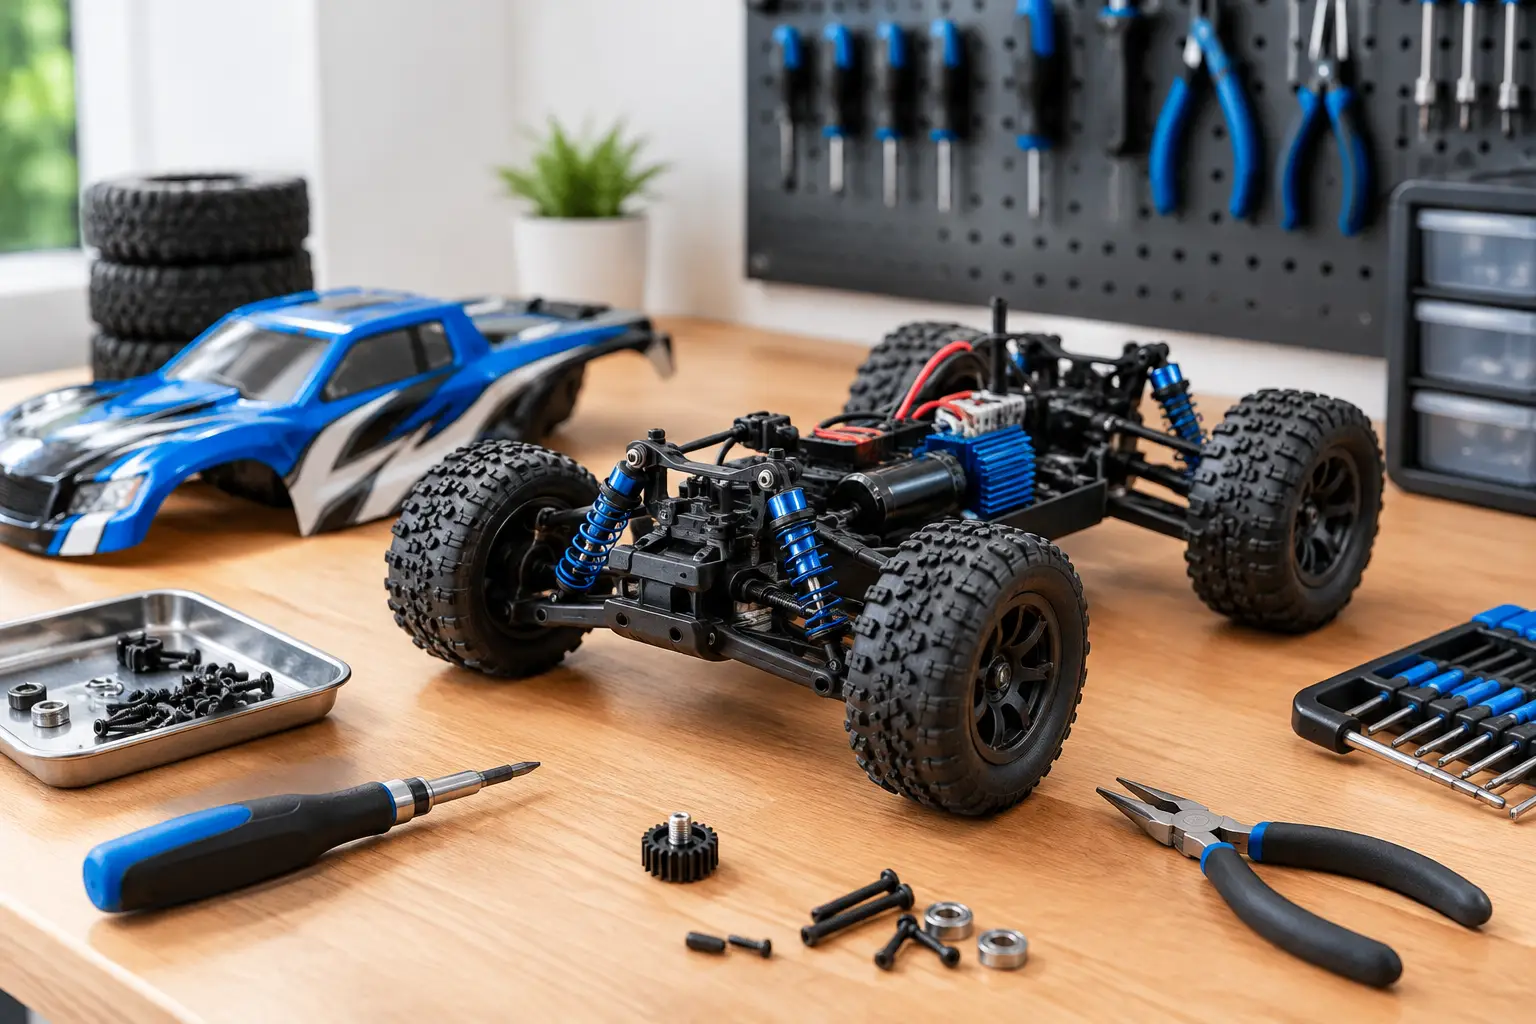
A wheel nut disappears under the bench, a freshly charged LiPo has nowhere suitably safe to sit, and the 1.5mm hex driver you need is in a drawer full of mismatched tools. That is usually the point when RC workshop essentials stop feeling optional. A well-planned work area does not need to be large or expensive, but it should make routine maintenance, repairs and upgrades quicker, safer and far less frustrating.
Start with a bench that suits your models
A dedicated bench is useful because RC work creates small parts, dirt, oil residue and loose wiring very quickly. Choose a stable surface with enough depth to place a model down without balancing it on the edge. For 1/10 scale cars and crawlers, a modest desk or sturdy workbench is normally enough. Larger 1/5 scale vehicles, boats and aircraft may need more floor space, plus a clear area for wings, hulls or body shells.
Good lighting makes an immediate difference. A bright overhead light is helpful, but an adjustable task lamp lets you see worn threads, damaged connectors and tiny E-clips without straining. If possible, keep the bench close to a power socket while leaving cables tidy and away from moving parts or soldering work.
Protect the surface with a silicone work mat or a purpose-made RC pit mat. It gives screws and clips somewhere less likely to roll, handles the occasional oil spill, and protects both the model and the bench. A model stand is also worth having for cars and lorries. Raising the chassis makes it easier to spin wheels, remove suspension parts and work underneath without crushing the body shell.
The RC workshop essentials worth buying first
It is tempting to fill a toolbox with every specialist item available. In practice, start with decent, correctly sized tools for the models you own. Quality drivers are a better investment than a large set of soft, poorly fitting bits that round out screw heads.
For most electric RC cars, lorries and crawlers, the core kit includes:
- Hex drivers in the common sizes used by your chosen brand, often 1.5mm, 2.0mm, 2.5mm and 3.0mm.
- Nut drivers or sockets for wheel nuts, suspension hardware and nyloc nuts.
- Side cutters, long-nose pliers and a sharp hobby knife for cable ties, body posts and small jobs.
- Cross-head and flat-head screwdrivers for electronics, transmitters and general hardware.
- A turnbuckle wrench, reamer and body scissors where you regularly set up vehicles or fit new shells.
The exact selection depends on your fleet. A basher may benefit from strong wheel-nut tools and spare pinion grub screws, while a crawler owner is more likely to use link pliers, shock tools and a ride-height gauge. For aircraft, add prop spanners, a balancer and suitable tools for control-linkage adjustments. Buy for the work you actually do, then add specialist tools when a repair or upgrade genuinely calls for them.
Keep fasteners under control
Screws are cheap until one holds up a repair. Use a compartment organiser with individual sections for common machine screws, nuts, washers, body clips and E-clips. Label it clearly by size and thread type. Keeping a few frequently lost items in reserve can save an order for a single part and get a model back out sooner.
A magnetic parts tray is useful during a strip-down, especially when working on gearboxes or suspension. It will not suit every small component, as magnets and bearings do not always mix well, but it is excellent for steel screws. For jobs involving several assemblies, place parts in separate labelled tubs or bags as they come off the model. Taking a quick photo before dismantling complex areas can also prevent guesswork later.
Make battery charging a planned process
Charging equipment deserves its own organised area rather than a corner of the bench. Use a charger that supports the battery chemistry and cell count you run, with balance charging for LiPo packs. A quality charger with clear settings is easier to use correctly than a cheap unit with limited information on screen.
LiPo batteries should be inspected before every charge. Do not charge packs that are swollen, physically damaged, hot from recent use or fitted with damaged leads. Charge on a non-flammable surface, use a suitable LiPo safety bag or fire-resistant charging container, and stay nearby throughout the charge cycle. The safest setup is the one you can monitor, not the one tucked away out of sight.
Keep battery connectors consistent across each model type where practical. This reduces the need for adaptors and makes it easier to identify which packs fit which vehicles. That said, do not change connectors simply for the sake of it if your existing wiring is sound and you are not confident soldering. Poor joints create resistance and heat, so a neatly made connection matters more than following a trend.
A basic soldering station pays for itself
A temperature-controlled soldering iron, solder, flux, heat-shrink tubing and a helping hand stand can deal with many common RC jobs. Replacing a connector, repairing a motor wire or fitting an ESC is much easier when the iron reaches and holds the right temperature.
Work in a ventilated space and keep the hot iron in a secure stand. Before tackling a battery connector, practise on spare wire. The goal is a clean joint that is heated quickly, fully wetted with solder and protected by heat-shrink - not a large blob that takes ages to cool. If you are unsure, expert support or a local hobbyist with soldering experience is preferable to risking a battery lead.
Cleaning supplies prevent avoidable wear
A model does not need to look factory fresh after every outing, but mud, grit and moisture should not be left to sit in bearings, drivetrain joints or electronics. A soft brush, old toothbrush and microfibre cloth handle most dry cleaning. Compressed air can shift dust from awkward areas, although use it carefully around bearings and avoid forcing dirt deeper into the chassis.
For stubborn grime, use RC-safe cleaning products sparingly and keep liquids away from components that are not rated waterproof. After a wet run, remove the body shell, dry the model thoroughly and check bearings, driveshafts and screws for early signs of corrosion. A little preventative care is usually faster than replacing seized bearings or rusted hardware later.
Lubricants need the same restraint. Light bearing oil, silicone shock oil and appropriate grease all have their place, but more is not better. Excess lubricant attracts dirt and can make a clean drivetrain filthy in one session. Refer to the model manual where possible, particularly for differential and shock oil weights.
Build a sensible spares shelf
Your workshop should hold the parts most likely to stop your model running, not every part in the catalogue. For a hard-driven basher, that may mean suspension arms, body clips, wheel hexes, spur gears and a selection of screws. Crawlers often reward keeping steering links, driveshaft parts and servo hardware available. Racers may prioritise bearings, wishbones and gearing options.
Stocking a spare servo or receiver is not essential for everyone, but it can be useful if several models share the same radio system. Check compatibility before buying. Voltage ratings, connector types, spline counts and receiver protocols all matter, and a part that looks right is not always the correct fit.
Keep manuals, setup sheets and receipts in a folder, whether printed or stored digitally. They are particularly helpful when identifying exploded-view part numbers or returning to a baseline setup after experimenting with suspension, gearing or electronics.
Leave room for checks, not just repairs
The best workshop habit is a short inspection after each run. Check wheel nuts, look for loose screws, remove trapped grass, inspect tyres and confirm that battery leads have not rubbed against rotating parts. For aircraft, include control-surface movement, prop condition and fastener checks before every flight. For boats, examine the hull, cooling lines and driveline before the next launch.
You do not need a showroom-sized hobby room to work properly. Start with a stable bench, the right drivers, safe charging equipment and a clear method for storing parts. Then let your workshop grow around the models you run and the jobs you actually enjoy doing. A few organised minutes at the bench can be the difference between a quick repair and a lost weekend of running time.