
RC Bearing Replacement for Smoother Running
19/11/2026
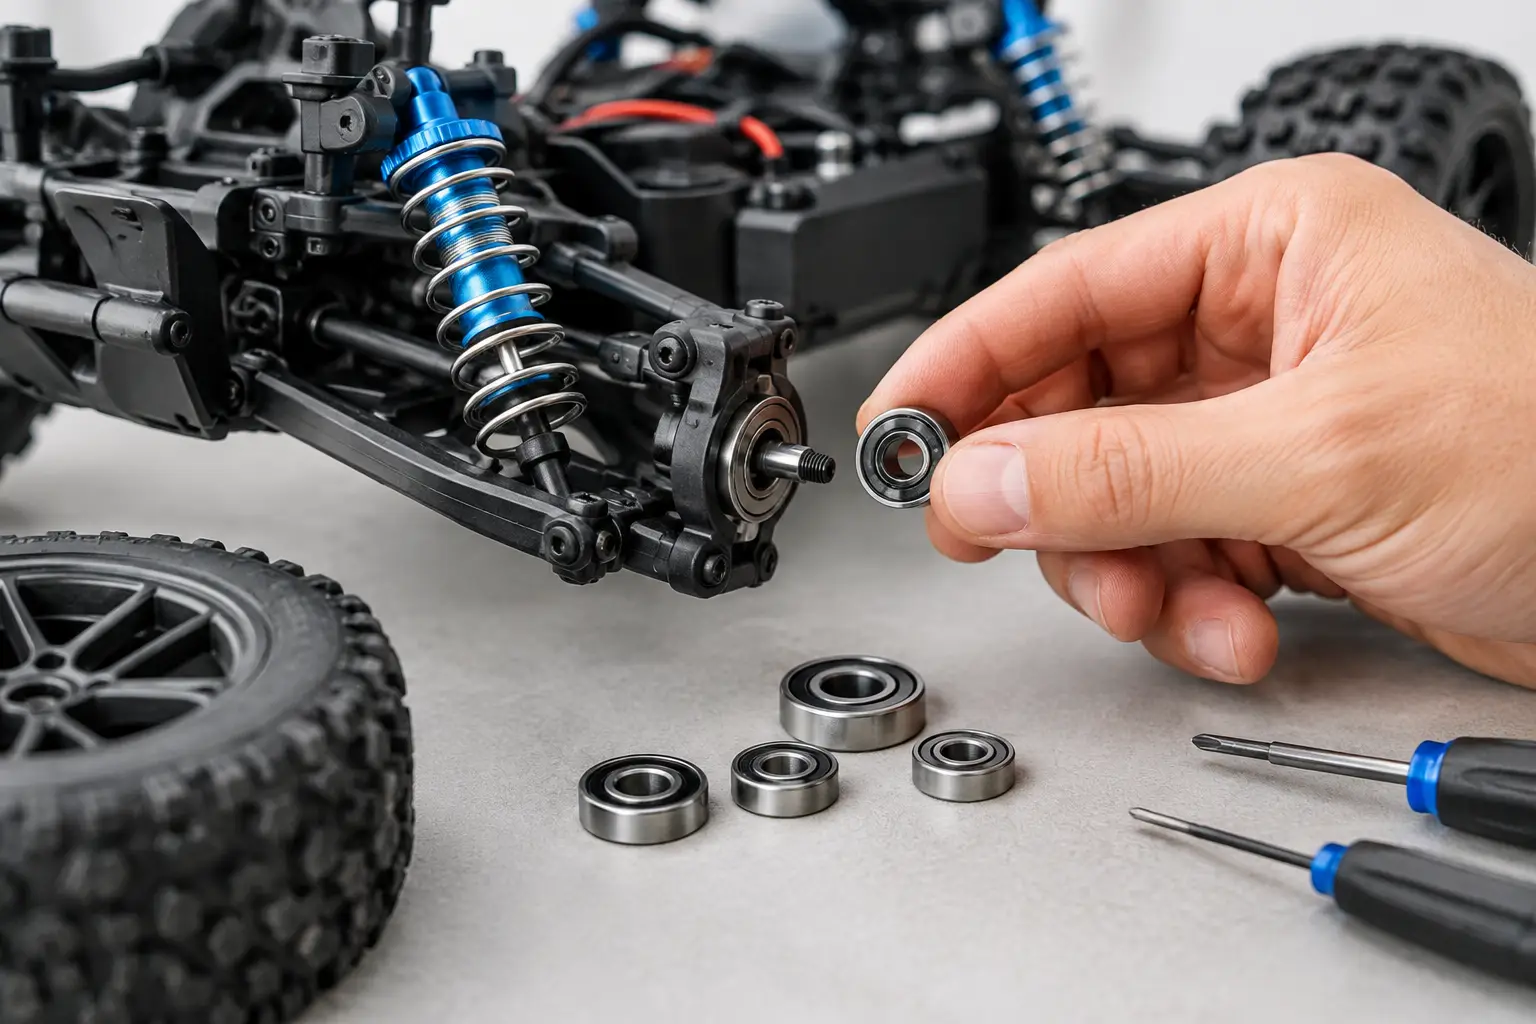
A gritty, clicking wheel is rarely just an annoyance. Left alone, it can turn a quick bearing job into a damaged hub, worn driveshaft or overheated motor. RC bearing replacement is one of the most worthwhile maintenance jobs you can do, whether you run a basher through wet grass, a crawler in mud or a race buggy on dusty tracks.
Bearings support rotating parts with minimal friction. They are fitted in wheel hubs, gearboxes, differentials, steering assemblies, bellcranks, motors and sometimes clutch or transmission components. When they run clean and freely, the model feels smoother, rolls better and puts less strain on the drivetrain. When they seize or develop play, performance and reliability suffer quickly.
When RC Bearing Replacement Is Needed
The clearest sign is roughness. With the motor disconnected or the wheels lifted clear, turn each wheel slowly by hand. A good bearing feels smooth and quiet. A worn one may feel notchy, gritty or tight at one point in its rotation. It may also make a faint crunching sound.
Side-to-side wheel movement is another useful clue. Some movement can come from the hub, hex, suspension arm or axle itself, so it does not automatically mean the bearing has failed. However, if the wheel has noticeably more play than the opposite side, inspect the bearings first.
Rust is a definite warning sign, particularly after running in rain, puddles, wet sand or salty winter conditions. Even a shielded bearing is not waterproof. Moisture can get past the shields, dilute the grease and corrode the races. If the bearing has brown staining, feels stiff or will not free up after cleaning, replacement is usually the sensible option.
Do not overlook heat. A bearing that binds in a gearbox, motor or wheel hub creates drag. After a run, compare temperatures carefully without touching very hot parts directly. One unusually warm wheel hub or motor can point to a failing bearing. It can also be caused by overtightened gear mesh, a bent shaft or packed dirt, so check the surrounding parts before ordering anything.
Check the Cause Before Fitting New Bearings
Replacing a failed bearing without finding out why it failed can waste a new set. A bent axle will overload the inner race. A damaged bearing seat can let the outer race move in the hub. Overtightened wheel nuts can pinch some wheel assemblies, while an incorrectly shimmed differential can side-load its bearings.
Take a moment to inspect the shaft that passes through the bearing. It should be straight, clean and free from deep grooves. Check that the bearing pocket is not cracked, enlarged or packed with hardened mud. On high-powered models, inspect drivetrain alignment too. A worn outdrive or badly meshed gear can put force through a bearing that was never designed to carry it.
For motor bearings, consider the wider picture. Excessive motor heat, very tall gearing or prolonged running in thick grass can all shorten their life. A replacement bearing may help, but changing gearing or improving cooling could prevent the same issue returning.
Choosing the Right Replacement Bearings
The best starting point is the exploded diagram or manual for your exact model. RC bearings are commonly identified by their inner diameter, outer diameter and width, measured in millimetres. For example, a 5 x 11 x 4 mm bearing has a 5 mm bore, 11 mm outside diameter and is 4 mm wide.
Measure an old bearing with digital callipers if you are unsure, but do not rely on visual comparison. Two bearings can look almost identical while differing by 1 mm in width or bore size. That small difference is enough to cause poor fitment or drivetrain binding.
Rubber-sealed or metal-shielded?
Rubber-sealed bearings are a strong all-round choice for most RC cars and lorries. Their flexible seals offer better protection against fine dirt and moisture, making them particularly useful in wheel hubs, exposed transmission areas and off-road models. They may have slightly more rolling resistance than open or lightly shielded bearings, but the difference is rarely meaningful for everyday running.
Metal-shielded bearings generally spin freely and are suitable for cleaner conditions, such as on-road cars or protected gearbox locations. They are less effective at keeping out water and very fine debris. Open bearings are best reserved for specific applications where access for regular servicing matters and contamination is limited.
Ceramic or hybrid bearings can reduce friction and are popular with racers, but they are not automatically the right answer for every vehicle. They cost more, and their benefits are most noticeable in clean, carefully maintained setups. For a wet-weather basher or trail lorry, good-quality sealed steel bearings are often the more practical buy.
RC Bearing Replacement Step by Step
Work on a clean bench, tray or light-coloured towel so small shims, screws and clips cannot disappear. Photograph each stage if the assembly is unfamiliar, especially around gearboxes and differentials. Keep left and right-hand parts separate where applicable.
Start by removing the component that contains the bearing. At a wheel hub, this often means taking off the wheel, hex and axle hardware before separating the hub carrier. In a gearbox, remove the cover slowly and note the position of gears, shims and seals. Do not force the casing apart with a screwdriver if it is still held by a hidden screw.
To remove a bearing, support the part around the bearing pocket and press evenly on the correct race. If the bearing is fitted into a hub or housing, press on the outer race. If it is fitted onto a shaft, press against the inner race. Pushing through the balls can damage the bearing, deform the cage or mark the housing.
A dedicated bearing puller is useful for stubborn bearings, but a suitable socket, drift or bearing driver can work well when used carefully. Gentle heat from a hairdryer can help expand a plastic or metal housing slightly. Avoid open flames, and do not overheat plastic parts.
Before fitting the new bearing, clean the bearing seat and shaft with a dry cloth or suitable cleaner. Remove grit completely. The bearing should sit squarely in its pocket and press in with firm, even pressure. If it needs heavy force, stop and check the size, alignment and condition of the housing. A bearing that starts crooked can damage both the new part and the component around it.
Reassemble the model in reverse order, returning every shim and spacer to its original position. Once assembled, rotate the drivetrain by hand before reinstalling the motor pinion or applying power. It should turn freely without tight spots. A small amount of resistance from gears is normal; a sudden bind is not.
Cleaning Versus Replacing Bearings
Not every rough bearing must be discarded immediately. If it has no corrosion, no visible damage and only feels slightly dry or contaminated, cleaning may restore it. Remove the seals carefully only if they are designed to be removable, flush out old dirt with an appropriate bearing cleaner, allow it to dry fully and apply a small amount of quality bearing oil.
There is a trade-off. Cleaning takes time, and a tired bearing may feel better briefly before failing again. For inexpensive, common hub bearings, replacement is often better value than repeatedly servicing a set that has already seen plenty of wet running. For specialised sizes or premium race bearings, servicing can make more sense.
Do not pack small RC bearings full of thick grease unless the application specifically calls for it. Too much grease creates drag and can attract dirt around the shields. A light oil is generally suitable for freely spinning exposed bearings, while factory-greased sealed bearings are often best installed as supplied.
Preventing the Next Failure
A few habits will make bearings last much longer. After wet or muddy running, remove obvious dirt from the hubs and drivetrain, then dry the model before storage. Spinning a wet wheel at high speed may fling out some water, but it will not remove moisture trapped inside a bearing.
Avoid blasting bearings at close range with a pressure washer. Water and grit can be driven past the seals and straight into the races. Check wheel nuts are secure without being excessively tight, and replace bent axles or worn drive cups before they damage new bearings.
For models used regularly in rough British conditions, keeping a small selection of common bearing sizes in the pit box is worthwhile. It turns a failed bearing from the end of a day’s running into a quick repair. RC Model Shop can help identify suitable replacements when you have your model name, bearing dimensions or part number to hand.
A fresh bearing should make the difference immediately: smoother wheels, a freer drivetrain and less unwanted heat. Take the extra few minutes to fit it squarely and check the cause of the failure, and that small maintenance job will protect far more expensive parts.