
How to Set RC Slipper Clutch for Better Control
30/10/2026
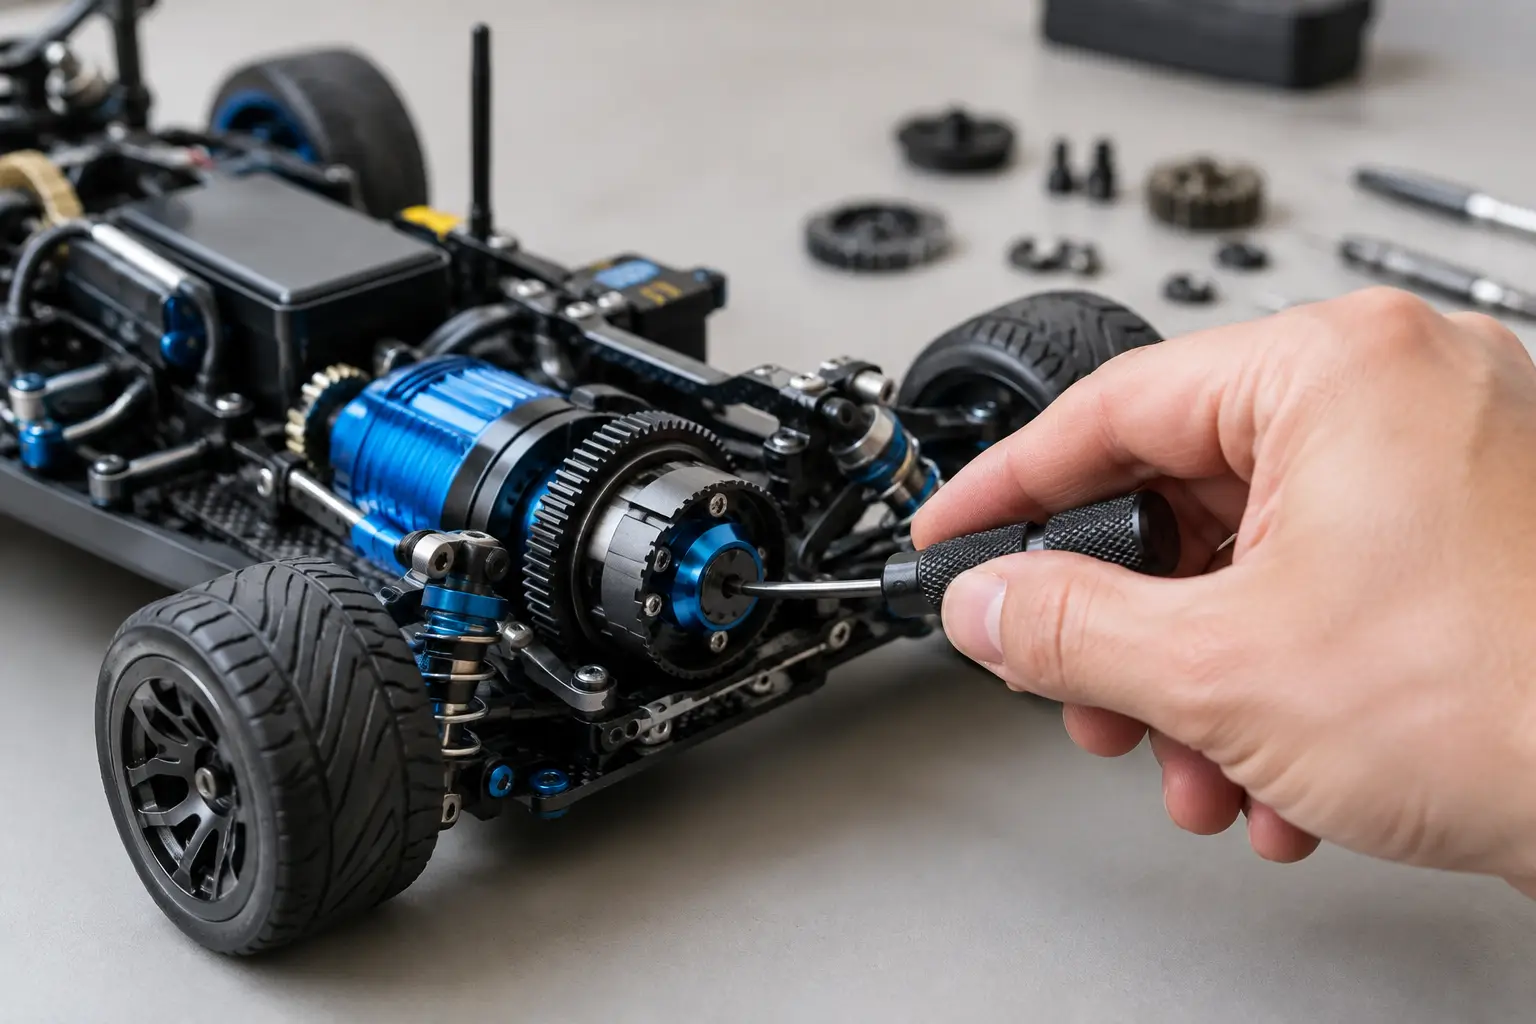
A slipper clutch that is too loose can make a powerful RC car feel flat and inconsistent. One that is too tight can turn a bad landing, a blocked wheel or a full-throttle launch into an expensive drivetrain repair. Learning how to set RC slipper clutch tension properly gives you a more predictable model and helps protect the parts that matter.
The right setting is not a single number of turns for every vehicle. Motor power, battery voltage, tyre grip, vehicle weight and where you drive all affect the result. A 2WD stadium lorry on loose dirt needs a different setup from a 6S basher running on high-grip tarmac.
What the slipper clutch actually does
The slipper clutch sits between the motor and transmission in many RC cars and lorries. It uses friction pads and plates, held together by a spring, to limit how much torque reaches the drivetrain. When the load is suddenly high, the plates can slip briefly rather than forcing all that shock through the spur gear, driveshafts, differential and tyres.
This controlled slip is especially useful during punchy acceleration, hard landings under power and wheelspin transitions. It can also make a car easier to drive by taking the edge off an aggressive brushless power system.
It is not a substitute for correct gearing, a sound drivetrain or sensible throttle control. If the clutch slips constantly, it creates heat, wastes battery power and can damage the slipper pads or spur gear. The aim is enough slip to cushion sharp impacts, but not so much that the model struggles to transfer power.
Before you set RC slipper clutch tension
Start with a basic inspection. Remove the gear cover if your model has one and look for melted plastic, spur gear damage, loose hardware or black dust around the slipper assembly. Fine dust is normal over time, but heavy contamination can indicate that the clutch has been slipping excessively.
Check that the pinion and spur mesh is correct first. A poor mesh can sound similar to a slipping clutch, particularly when accelerating hard. Also make sure the drivetrain turns freely with the motor disconnected or the pinion removed. Binding bearings, bent shafts or damaged differentials increase load and make any clutch setting harder to judge.
Use the vehicle manual to identify the adjustment method. Many models use a slipper nut on the transmission input shaft, often accessible through the gear cover. Others use a locking nut, a marked adjuster or a specific starting measurement. Do not force the adjuster if it reaches its stop. Different brands and designs use different springs, pads and hardware.
A reliable starting method
For a new model or a rebuilt clutch, begin with the manufacturer’s recommended baseline if one is supplied. This is normally the quickest route to a safe, usable setting. If there is no stated setting, tighten the slipper nut until the spring is fully compressed, then back it off gradually according to the model’s manual or established setup guidance for that platform.
Avoid guessing with large adjustments. A quarter-turn can make a noticeable difference, especially on smaller 1/10 scale models. Mark the position of the nut and shaft with a paint pen if access allows. It gives you a reference point and makes it easy to return to a known setting.
For the first test, use a fully charged battery and the surface you normally drive on. Run a few controlled standing starts rather than immediately sending the car over ramps. Listen to the sound, watch the acceleration and check how the vehicle behaves when the tyres hook up.
A well-set slipper clutch may slip for a moment on a hard launch, then bite cleanly as the car gets moving. You want strong drive without a long, high-pitched whirring sound from the transmission area.
If the clutch is too loose
A loose slipper clutch often produces lazy acceleration despite a healthy battery and motor. The motor may rev sharply while the car gathers speed slowly, and the clutch can make a sustained squeal or whine during acceleration. After a short run, the gear cover and slipper area may feel unusually warm.
Tighten the adjustment in small increments, usually around one eighth to one quarter of a turn at a time. Test after each change. Do not jump straight to fully tight, as that removes the protection the system is there to provide.
If the clutch is too tight
A tight slipper clutch transfers torque immediately. The car may launch very hard, wheelie unexpectedly or break traction violently on grippy ground. It can feel exciting, but the drivetrain takes the full shock load when a wheel catches, the car lands under throttle or the transmission is suddenly stopped.
Back the adjuster off in small increments if the model feels harsh and uncontrollable, particularly with a high-power brushless setup. A little controlled slip can make a basher quicker in real conditions because it stays composed instead of constantly flipping, ballooning tyres or unloading the rear end.
Match the setting to where and how you drive
Surface grip makes a major difference. On loose grass, dirt or a dusty bashing spot, a slightly looser setting can smooth out power delivery and reduce wheelspin. On high-grip tarmac or prepared race surfaces, you may need a little more tension to prevent excessive clutch slip under load.
Battery choice matters too. Moving from a 2S LiPo to 3S, or from 4S to 6S, substantially increases available punch. A setting that worked well on lower voltage may slip too much with the more powerful pack. Recheck the clutch whenever you make a meaningful power-system change, fit much grippier tyres or significantly alter gearing.
For racing, the best setting depends on the class, track condition and your driving style. Some racers favour a tighter clutch for direct response, while others use a touch more slip to keep the car settled over rough sections. Make one change at a time and judge it over several laps, not one launch.
For general bashing, drivetrain protection is usually the priority. A controlled launch is preferable to stripping a differential or twisting a driveshaft after a bad landing. This is particularly true with heavier 1/8 scale models and high-voltage brushless systems.
Common mistakes that cause problems
The most common mistake is treating slipper adjustment as a fit-and-forget job. Pads wear, springs settle, surfaces change and different batteries alter the load. A quick check after several hard runs is good practice, especially if you notice a new sound or a drop in acceleration.
Another mistake is adjusting around a mechanical fault. If a clutch suddenly begins slipping when the setting has not changed, inspect the spur gear, pads, spring and hardware before simply tightening it. Oil, grease or dirt on the friction surfaces can cause erratic slip. Glazed or worn pads will not provide consistent performance and should be replaced.
Do not use the slipper clutch to hide an over-geared setup. If the motor and ESC are running hot, the correct answer may be a smaller pinion, a larger spur gear where available, or a cooling improvement. Tightening the clutch cannot solve excessive motor load.
Finally, remember that not every RC vehicle has a slipper clutch. Many crawlers use different drivetrain arrangements, and some performance models use centre differentials instead. If your model has a centre differential, changing oil viscosity affects power distribution but is not the same adjustment as setting a slipper.
Signs your setup is working
A properly adjusted slipper clutch feels almost unremarkable once you are driving. The model launches cleanly, accelerates without a prolonged slipping noise and remains controllable when grip changes. After a normal run, there should be no burnt smell or excessive heat around the spur gear and clutch assembly.
Keep a note of settings that work with your usual battery, tyres and surface. It saves time after maintenance and gives you a sensible baseline when experimenting. If you are unsure whether your drivetrain needs a replacement part or a setup change, RC Model Shop can help identify the right spares and upgrades for your model.
Take a few minutes to test, adjust and test again. That small bit of setup work can make your RC car faster to drive, easier to control and far less likely to turn a great day out into a stripped-drivetrain repair.