
A Traxxas Rustler Upgrade Example That Works
08/10/2026
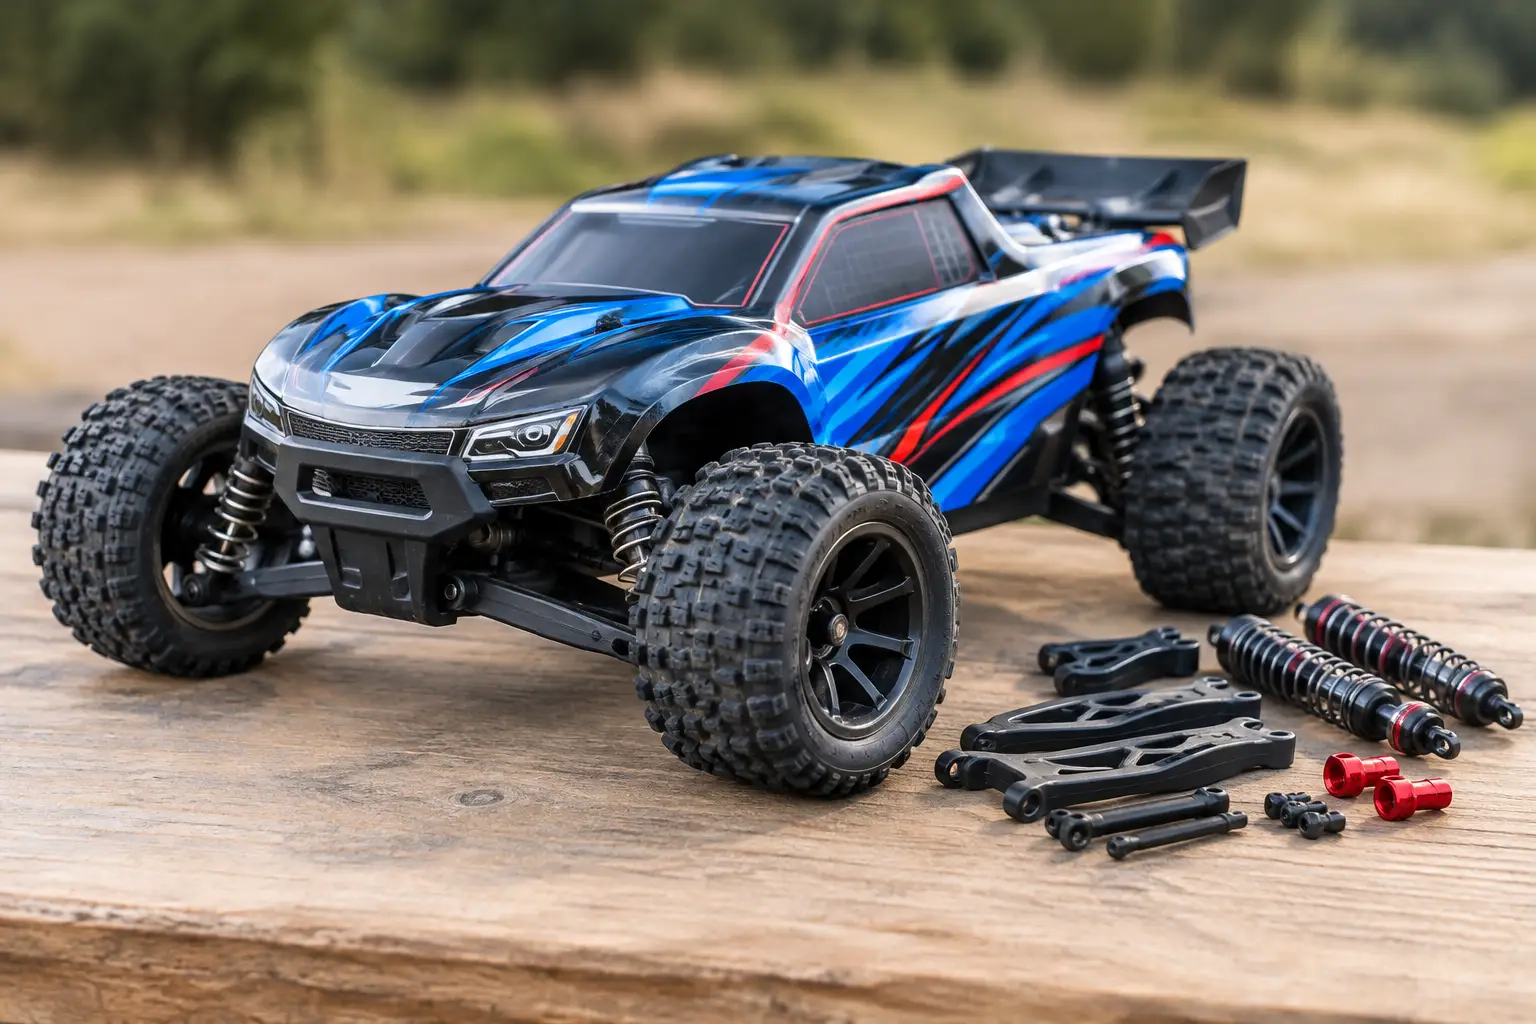
A Rustler that flips on loose grass, strips a spur gear after a hard landing or runs hot on 3S does not necessarily need a full alloy rebuild. This Traxxas Rustler upgrade example starts with the parts that solve real running problems first, then adds performance where it can actually be used. It is a sensible route for a regular basher who wants a quicker, tougher and more predictable model without spending money twice.
The key is to upgrade for your version of the Rustler and your running surface. A 2WD Rustler needs a different approach from a Rustler 4X4, while a short-cut lawn, compacted dirt and tarmac all place different demands on tyres, gearing and suspension. Check your model's exact version before ordering, especially when choosing hubs, driveshafts, gear covers and electronics.
Traxxas Rustler Upgrade Example: A Sensible Build Order
Picture a Rustler VXL used most weekends on grass, gravel and the occasional car park. It is running on 3S, has taken its share of jumps, and the owner wants fewer breakages, better control and stronger acceleration. Rather than fitting every shiny part available, this build is split into practical stages.
Start with the parts that improve grip and protect the drivetrain. Then deal with heat and steering accuracy. Only after that is it worth considering more power, metal suspension parts or a high-cost chassis conversion. This order keeps the vehicle enjoyable between upgrades and makes it easier to identify what each change has achieved.
Stage one: Tyres, wheels and drivetrain protection
Tyres are often the most noticeable upgrade on a Rustler. The standard tyres may be perfectly usable, but an all-terrain tread with a firmer carcass can transform how the model accelerates, turns and lands on loose ground. For grass and mixed dirt, choose an off-road tyre sized appropriately for the Rustler and mounted on wheels with the correct hex fitting. For mainly tarmac, a road-biased tyre reduces ballooning and gives more consistent steering, but it will wear much faster on abrasive surfaces.
Do not go oversize simply for the look. Larger, heavier tyres add rotating mass and load the motor, ESC, spur gear and driveshafts. A 3S Rustler can cope with sensible wheel choices, but aggressive tyres combined with tall gearing are a familiar route to high temperatures and repeated drivetrain issues.
At this point, inspect the slipper clutch or centre driveline arrangement fitted to your model, plus the spur and pinion gears. Replace worn gears rather than expecting an upgraded motor to solve a slipping or clicking transmission. Set the gear mesh correctly: there should be a small amount of movement between the gears, not a tight, binding fit. If you use the Rustler in wet grass or dusty gravel, clean out debris around the gear cover after a run.
Stage two: Better steering before more speed
A faster Rustler is only useful if it goes where you point it. The standard steering system can develop play over time, particularly after kerb strikes and rough landings. Begin by checking that the servo saver, bellcranks, steering links and wheel bearings move freely. A damaged bearing can feel like a steering problem and should be replaced before fitting a new servo.
A higher-torque, metal-geared waterproof steering servo is a worthwhile next step for larger tyres and hard off-road use. Match it with a suitable servo horn and ensure the spline count is correct. Set steering endpoints on the transmitter so the servo is not forcing the steering assembly against its mechanical stops. That simple setup step protects the servo and helps prevent unnecessary strain on the servo saver.
For a 2WD Rustler, improving steering precision can also expose the natural tendency to wheelie under hard acceleration. That is not a fault. Reduce punch settings if available, adjust the slipper clutch, or accept that a little throttle control is part of a lively 2WD setup. A Rustler 4X4 will generally put power down more easily, although it brings additional driveline components to maintain.
Suspension Changes That Earn Their Place
Suspension upgrades should be based on how the vehicle behaves, not just on whether aluminium parts look stronger. If the Rustler bottoms out on normal jumps, rebounds like a pogo stick or rolls excessively in turns, service the shocks first. Fresh shock oil, intact seals and correctly fitted spring retainers can make a substantial difference.
For this example build, use slightly firmer springs or a modest increase in shock oil weight if the model repeatedly slaps its chassis on landing. Make one change at a time and test it on the same ground. Going too stiff can make the Rustler skip across bumps and lose grip, especially on a rough field.
Aluminium shock caps can be a sensible durability upgrade where plastic caps have repeatedly popped off. Alloy suspension arms, hubs and bulkheads require more thought. Metal parts may survive a direct hit, but the force must travel somewhere else. That can mean a bent hinge pin, broken chassis section or damaged suspension mount instead. For most bashers, quality plastic arms remain a good choice because they flex and are relatively inexpensive to replace.
A rear wheelie bar is another useful option for 2WD Rustlers that spend too much time looking at the sky. It will not create more grip, but it makes full-throttle launches more manageable and protects the rear of the vehicle when it does lift.
Cooling and Gearing for a 3S Rustler
Heat is the warning sign that should guide performance upgrades. After a normal run, check motor and ESC temperatures with an infrared temperature gauge. If the motor is too hot to run comfortably or readings are consistently excessive, stop and address the cause before fitting a bigger battery or a taller pinion.
For a 3S bash setup, a motor heatsink and cooling fan can offer useful extra headroom, particularly in warmer weather or long-grass running. They are not a licence to overgear. Tall gearing, oversized tyres, a dirty drivetrain and sustained full throttle all create heat that a fan cannot completely remove.
If you want stronger acceleration, a modest gearing change can work well when paired with sensible tyres and good cooling. Make small changes and check temperatures after each test. A smaller pinion often sacrifices some top speed but reduces load, improves reliability and can make a model feel sharper off the line. This is often the better choice for a field basher where there is limited space to use maximum speed anyway.
Battery choice matters too. Use a sound, appropriately rated 2S or 3S LiPo that fits the battery tray securely, and set the ESC's low-voltage detection correctly. A higher-capacity pack can extend run time, but it may also add weight. For jumps and tight terrain, a slightly lighter pack can make the Rustler easier to place and less punishing when it lands badly.
What Not to Upgrade Yet
It is tempting to fit hardened steel gears, alloy arms, a new motor system and premium shocks all at once. The drawback is cost, added weight and no clear idea which change improved or harmed the handling. Some upgrades are also reactive rather than preventative: replacing a part with a stronger version after it has repeatedly failed makes sense, but replacing every working part does not.
Keep a small spares kit for your running spot instead. Body clips, wheel nuts, suspension pins, spur gears, a wheel wrench and basic hex drivers are more useful on a Sunday bash than an expensive component waiting at home. For frequent hard use, add the specific parts your Rustler has actually broken, whether that is a front arm, driveshaft or gear cover.
RC Model Shop can help match upgrades to the precise Rustler version, battery choice and use case, which matters when Traxxas fitment differs between 2WD and 4X4 platforms. A quick check before buying is cheaper than ordering a part that almost fits.
Build the Rustler around the ground you run on and the failures you genuinely see. Start with tyres, maintenance and steering, then tune suspension, gearing and cooling as the model asks for it. The best upgrade is the one that gives you more confident runs next weekend, not simply more parts on the bench.