
How to Solder RC Battery Connectors Safely
12/09/2026
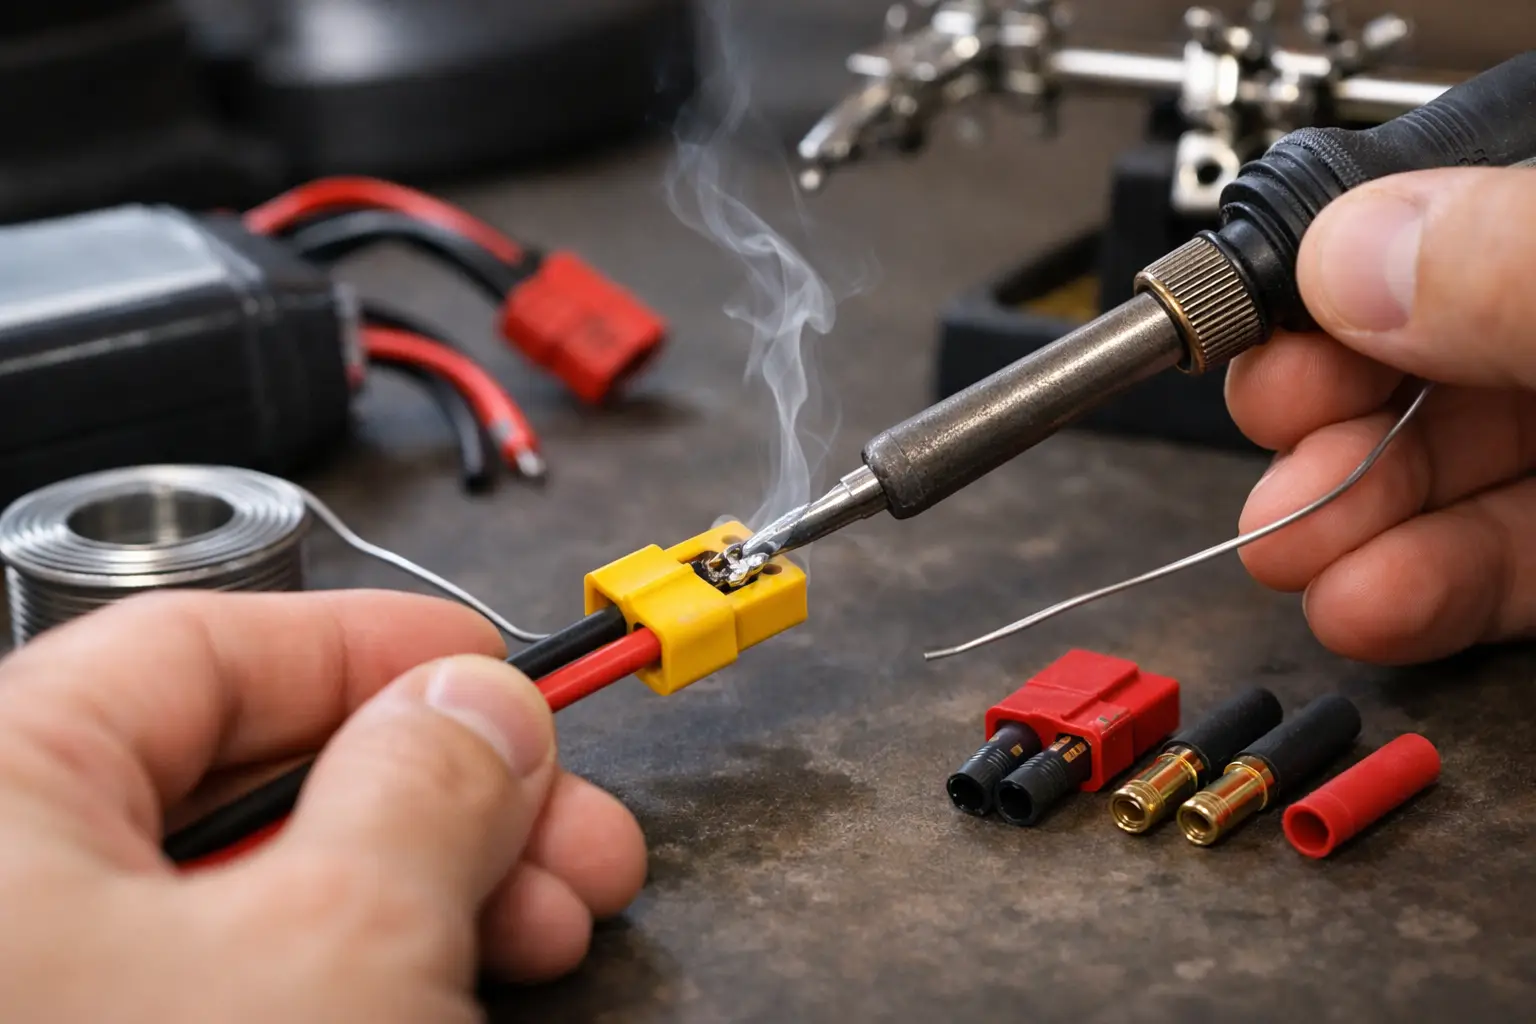
A loose battery plug can turn a good RC day into a frustrating one. Power cuts under acceleration, excess heat at the connector and a model that will not switch on are often traced back to one poor joint. To solder RC battery connectors properly, you need the right heat, clean parts and a careful approach to polarity - not just a large soldering iron.
For most hobbyists, this is a useful repair skill rather than a complicated electronics job. Done well, a soldered connector gives a low-resistance power path that stands up to hard bashing, repeated battery changes and vibration. Done badly, it can damage a battery lead, melt a plug or, in the worst case, short a LiPo pack.
Choose the connector before you start
The best connector is usually the one already fitted to your vehicle and batteries. Keeping one connector standard across a fleet makes charging, borrowing packs and trackside repairs much simpler. It also avoids unnecessary adaptors, which add another connection that can loosen or create resistance.
For smaller models, JST, Tamiya-style and EC2 connectors may be appropriate. Deans/T-plugs remain popular for compact, high-current setups, while XT60, XT90, EC5 and IC5 connectors are common on larger cars, boats and aircraft. The right choice depends on the current your model draws, available space and what your charger leads accept.
Do not choose a connector solely because it looks larger or more capable. Heavy connectors can be awkward in a compact chassis, and oversized wire is harder to solder neatly. Equally, an old connector that gets hot after a run should not be ignored. Heat at the plug is a sign of resistance, often caused by worn contacts, a weak solder joint or a connector unsuitable for the current being used.
When replacing a connector, match the wire gauge to the existing battery lead wherever possible. Extending a battery lead substantially can affect an ESC, especially in higher-power setups, so keep added length to a minimum.
Tools that make soldering easier
A temperature-controlled iron around 60W to 100W makes the job far easier than a small, low-power hobby iron. The aim is to heat the wire and connector quickly enough for solder to flow, then remove the heat before insulation softens or the connector body distorts.
You will also need decent electrical solder with a rosin flux core, heat-shrink tubing of the correct diameter, wire cutters and a secure way to hold the connector. A soldering stand, clamp or helping hand is useful, but make sure it grips the connector without crushing it. A damp sponge or brass wool keeps the tip clean between joints.
Lead-free solder is suitable, but it generally needs more heat and can be less forgiving for a beginner. Traditional leaded electrical solder flows more easily, although it requires sensible handling: work in a ventilated area, wash your hands afterwards and keep food and drinks away from the bench. Never use plumbing solder or acid flux. They can corrode electrical connections over time.
Safety comes before the first joint
Remove the battery from the model and keep it disconnected from any charger. Work on a clear, non-flammable surface with good ventilation. If a pack is swollen, physically damaged, unusually hot or has exposed conductors, do not attempt a routine connector repair before assessing whether the battery is safe to use.
The key rule is simple: only work on one battery wire at a time. Cut, strip, tin and solder the positive wire fully, then cover it with heat-shrink before starting on the negative wire. Never leave both bare leads exposed together. A direct short across a LiPo battery can produce a very high current almost instantly.
Before cutting anything, check polarity twice. Red is normally positive and black negative, but confirm the orientation against the existing connector, the vehicle lead or another known-good battery. Connector naming can occasionally be confusing, particularly where plugs are described by the gender of their bullet contacts rather than the housing. Look at the actual mating faces, not just the product label.
How to solder RC battery connectors cleanly
Start by sliding the heat-shrink tubing onto the wire. It is an easy step to forget, and no amount of careful soldering helps if the tubing cannot be fitted afterwards.
Strip only enough insulation to fit inside the connector cup or around its solder tab, usually a few millimetres. Twist the copper strands gently so none spread out. Set the iron to a sensible working temperature - around 350 to 400°C is common, depending on the iron, solder and connector size.
Tin the wire and connector separately
Clean the iron tip, apply a small amount of solder to it, then heat the exposed wire from underneath. Feed solder into the wire rather than melting a large blob on the tip and wiping it on. A properly tinned wire looks evenly coated, with the individual strands still visible under a thin layer of solder.
Next, tin the connector cup or tab. Heat the metal itself and feed solder until the cup is partly filled or the tab has a thin, even coating. Do not overfill a bullet connector cup. Too much solder makes it difficult to seat the wire and can force hot solder out when the joint is assembled.
Allow both parts to settle briefly. This pre-tinning stage is what makes the final join quick and controlled.
Join the parts without cooking the plug
Hold the tinned wire in the connector cup or against the tab. Touch the iron to the joint until both tinned surfaces reflow together, then remove the iron while keeping the wire completely still. On a good joint, the solder flows into one smooth connection in a few seconds.
Do not move the wire while the solder cools. Movement can create a dull, grainy-looking joint that may be mechanically weak and electrically resistive. If the solder will not flow, clean and re-tin the tip rather than holding heat on the connector for longer.
Let the connection cool naturally before sliding the heat-shrink into place. Shrink it with a heat gun where possible. The side of a soldering iron can work with care, but direct contact can burn through the tubing. Once the positive wire is fully insulated, repeat the process for the negative lead.
Check your work before connecting a battery
A good solder joint is shiny or smoothly finished, fully bonded to both surfaces and free from loose strands. The insulation should sit close to the connector without being melted back excessively, and the heat-shrink should cover all exposed conductor.
Give each wire a firm but controlled pull. The wire should not rotate, slide or flex at the solder joint. Then compare the finished connector carefully with a known correct lead. If you have a multimeter, check polarity before plugging it into an ESC, charger or receiver-powered model. This takes less than a minute and can prevent expensive damage.
For high-current vehicles, keep an eye on the connector during the first run. Warmth after sustained use can be normal on very demanding setups, but a plug that becomes hot enough to soften plastic or feels noticeably hotter than the battery wires needs attention.
Common faults and how to avoid them
Cold joints are usually caused by insufficient heat, a dirty tip or trying to solder parts that were not tinned first. Reheat the joint, add a small amount of fresh solder if needed and allow it to cool without movement.
Melted housings happen when the iron stays in contact too long. Use a more powerful iron, not necessarily a hotter setting, so the joint reaches soldering temperature faster. For connectors with separate metal bullets and plastic housings, solder the bullet outside the housing where the design allows, then let it cool completely before assembly.
Stray wire strands are another common problem. They can touch the opposite terminal or work through heat-shrink over time. Trim and twist the wire neatly before tinning, and inspect closely under good light.
If you are changing connectors across several packs, complete one battery from start to finish before starting the next. This avoids the very easy mistake of creating one pack with reversed polarity.
A clean connector joint is not just tidier on the bench. It protects your battery, ESC and model when the power demand is highest. Take your time, check polarity once more than you think necessary, and the next time a lead needs replacing, it will feel like a straightforward part of maintaining your RC kit.