
How to Set RC Suspension for Better Control
15/08/2026
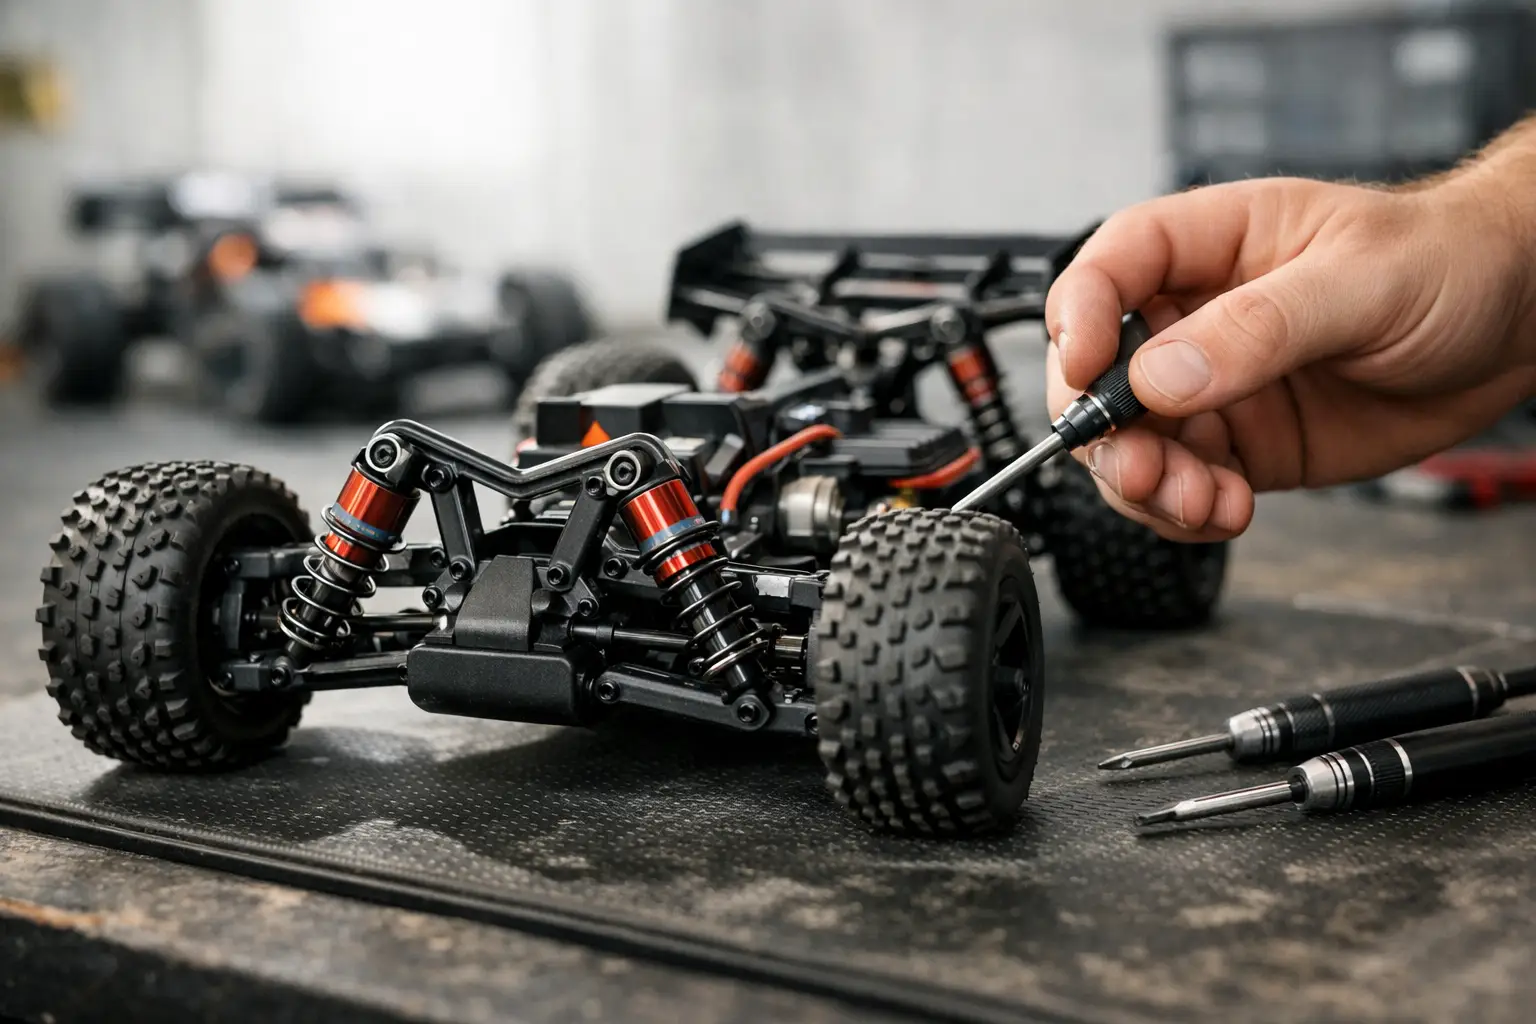
How to Set RC Suspension: A Practical Setup Guide
An RC model that bottoms out over every jump, traction-rolls through corners or skips across rough ground does not always need expensive upgrades.
Before buying new parts, learn how to set RC suspension from a sensible baseline. Small, measured changes to ride height, spring rate and damping can make an RC car feel considerably more controlled and predictable.
Suspension setup is not about making every vehicle as stiff or as low as possible. A fast 1/8-scale buggy on a prepared track needs a different setup from a basher landing jumps on grass. Neither setup will necessarily suit a crawler moving slowly over rocks.
Begin with the surface and the way you drive, then change one setting at a time.
Start With a Proper Baseline Setup
Install the battery you normally use before checking the suspension. Battery weight affects ride height and balance, particularly on smaller vehicles.
Fit your usual wheels and tyres as well. Heavier tyres, different wheel offsets and larger wheels can all change the way the suspension behaves.
Clean and inspect the suspension before making adjustments. Check for:
-
Bent hinge pins
-
Cracked suspension arms
-
Sticky ball joints
-
Loose wheel bearings
-
Bent shock shafts
-
Leaking shock seals
-
Damaged rod ends
-
Dirt around the shock shafts
With the shocks disconnected, the suspension arms should move freely through their normal travel without sticking or binding. Some resistance from driveshafts and other drivetrain components may be normal, but the left and right sides should feel consistent.
Check that the shock absorbers are assembled consistently. Shocks on the same axle should have:
-
Matching shaft travel
-
Equal spring preload
-
Similar rebound
-
No visible leaks
-
Matching mounting positions
-
The same oil and piston setup
The factory setup is usually a useful starting point, but it may no longer be consistent after shipping, crashes or repeated use.
Record the standard settings before changing anything. This gives you a known baseline to return to if the new setup performs worse.
How to Set RC Suspension Ride Height
Ride height is the distance between the bottom of the chassis and the ground when the vehicle is ready to run.
Check it on a flat surface with the battery and body fitted. Lift the model a few centimetres and let it settle naturally. Roll it forwards and backwards slightly before measuring.
Do not press the chassis down and measure it immediately, as friction in the suspension can produce an inaccurate result.
For many off-road bashers, a level chassis or slightly lower front end is a dependable starting point. However, the manufacturer’s recommended ride height should be used where available.
What Happens if the Ride Height Is Too High?
A higher ride height provides more ground clearance but also raises the centre of gravity.
This can cause:
-
Increased body roll
-
More traction rolling
-
Slower direction changes
-
Less stability during cornering
-
Greater weight transfer under braking and acceleration
Extra height can help on rough ground, but raising the vehicle as far as possible rarely produces the best handling.
What Happens if the Ride Height Is Too Low?
Lowering the vehicle can improve stability on smooth surfaces, but excessive lowering reduces the suspension’s available compression travel.
This can cause:
-
The chassis to bottom out frequently
-
Poor control over bumps
-
Harsh jump landings
-
Reduced ground clearance
-
The tyres to lose contact with uneven surfaces
A low setup that works on smooth tarmac may perform badly on grass, gravel or a rough BMX track.
How to Adjust Ride Height
Adjust ride height using the threaded spring collars or preload spacers fitted to the shocks.
Adding preload raises the vehicle’s resting position. Removing preload lowers it.
Preload does not change the actual spring rate. It changes the position at which the suspension rests within its available travel.
If a large amount of preload is required to achieve the correct ride height, the springs may be too soft for the model’s weight, battery or intended use.
Crawler Ride Height
A lower crawler can have improved side-hill stability because its centre of gravity is closer to the ground. Lower is not always better, though.
Excessive lowering can reduce breakover clearance and cause the chassis to become caught on rocks. Too much suspension droop can also produce unpredictable weight transfer on climbs and side slopes.
The aim should be controlled articulation and useful ground clearance, not simply maximum droop or maximum chassis height.
Check the Front-to-Rear Balance
The front and rear suspension must work together.
If the rear sits too low, the vehicle may squat excessively under acceleration and feel slow to respond. If the front is too low, it may dive heavily under braking or catch on rough terrain.
Look at the vehicle from the side and compare its stance with the manufacturer’s standard setup.
Do not assume that both ends need identical ride heights or spring rates. Many models use different front and rear settings because the weight distribution and suspension geometry are not the same.
Changing Shock Mounting Positions
Many RC vehicles provide several upper and lower shock mounting holes.
Moving a shock changes its angle and the leverage applied to it. A more angled shock will generally produce a softer effective response at the wheel, while a more upright shock will generally feel firmer.
The exact result depends on whether the upper or lower mounting point is moved and on the suspension geometry of the model.
Changing mounting positions can also affect:
-
Suspension travel
-
Progressiveness
-
Body roll
-
Jump handling
-
Available droop
Make one mounting change at a time and check that the shock, driveshaft and suspension arm still move freely through the full range of travel.
Choose Springs for Support, Not Just Stiffness
Springs support the vehicle and influence how much it rolls, pitches and squats. Shock oil controls how quickly those movements happen.
The two work together, but they do different jobs.
A model that sits too low despite using a sensible amount of preload may need firmer springs. This is common after fitting:
-
A heavier battery
-
Larger wheels and tyres
-
A heavier body shell
-
Metal upgrade parts
-
Additional accessories
A model that feels nervous, bounces across uneven ground or struggles to keep its tyres in contact with the surface may have springs that are too firm.
Match the Springs to the Surface
Slightly softer springs can help the tyres follow loose dirt, grass and uneven ground. Firmer springs may provide sharper responses on smooth, high-grip surfaces.
Every setup is a compromise.
Softer springs may provide:
-
Better grip on rough surfaces
-
More suspension movement
-
Improved ability to follow uneven ground
-
A more forgiving feel
Firmer springs may provide:
-
Reduced body roll
-
Less pitching and squatting
-
Sharper steering response
-
Greater support during hard landings
Do not automatically fit the same spring rate at both ends. Adjust the end of the vehicle that is causing the problem.
Firmer front springs may reduce braking dive and initial body movement but can also reduce front-end grip on uneven surfaces.
Firmer rear springs can make the vehicle respond and rotate more quickly, but going too stiff may reduce rear grip and make the back of the model feel loose.
Set Shock Oil and Damping Methodically
Shock oil controls the speed of suspension movement.
Thicker oil creates more damping and slows the shock’s movement. Thinner oil allows the suspension to compress and extend more quickly.
Signs the Shock Oil May Be Too Thin
Oil that is too thin for the vehicle and conditions can contribute to:
-
Excessive body movement
-
Rapid bouncing after landings
-
Poor control during weight transfer
-
The chassis bottoming too quickly
-
A loose or unsettled feeling at speed
Bottoming out is not always caused by thin oil. Ride height, spring rate, landing technique and available suspension travel must also be considered.
Signs the Shock Oil May Be Too Thick
Oil that is too thick may cause:
-
The model to skip across small bumps
-
Reduced grip on rough ground
-
Slow suspension recovery
-
Packing down over repeated bumps
-
Harsh and unpredictable handling
Packing occurs when the suspension cannot extend quickly enough between a series of bumps. Each impact leaves less travel available for the next one.
Change Oil in Small Steps
Do not make a dramatic change in oil viscosity unless the existing setup is clearly unsuitable.
A small change makes the result easier to understand and reduces the risk of chasing the setup in circles.
Use matching oil on the left and right sides of each axle unless you have a very specific reason to do otherwise.
Remember that viscosity labelling can vary between brands. When possible, compare oils from the same manufacturer or use recognised centistoke values rather than assuming two bottles marked with the same number will behave identically.
Shock Pistons and Rebound
The shock piston controls how easily oil moves through the shock body.
In general:
-
Fewer or smaller piston holes create more damping.
-
More or larger piston holes create less damping.
Oil viscosity and piston design work together. Two shocks containing the same oil can behave very differently if their pistons have different numbers or sizes of holes.
For most hobbyists, changing the shock oil before replacing the pistons is the simpler and more easily reversed adjustment.
When rebuilding shocks, make sure they are filled and bled consistently. Unequal rebound can make a model:
-
Pull to one side
-
Jump unevenly
-
Behave differently in left and right turns
-
Sit at different heights from side to side
The correct rebound depends on the shock design and vehicle setup. The important point is that matching shocks should behave consistently.
Set Droop and Suspension Travel
Droop is the amount the wheels can extend downwards as the chassis is lifted.
It helps the tyres maintain contact with uneven ground, but excessive droop allows more weight transfer and can make a vehicle roll, pitch or react slowly.
Depending on the model, droop may be adjusted using:
-
Droop screws
-
Internal shock limiters
-
External limiters
-
Shock mounting positions
-
Suspension geometry changes
For bashing, retain enough extension for the wheels to follow rough ground and settle after a jump.
On a smooth racing surface, reducing droop can make direction changes feel more precise. Crawlers may benefit from additional articulation, but too much can create unstable weight transfer and contribute to torque twist.
Check the Full Range of Movement
Make sure the suspension reaches its intended limits without damaging other components.
Check that:
-
Shock shafts are not being forced beyond their travel.
-
Driveshafts do not bind at full extension.
-
Steering links do not catch.
-
Tyres do not rub excessively on the body.
-
Suspension arms do not strain the shocks.
-
The drivetrain rotates freely at full compression and extension.
The suspension arm or chassis should reach its designed limit before the shock is subjected to damaging internal force.
Test One Change at a Time
The quickest way to lose a good suspension setup is to alter the springs, oil, camber, droop and ride height simultaneously.
Choose one handling problem, make one adjustment and test the model over the same piece of ground several times.
Pay attention to:
-
Braking stability
-
Corner entry
-
Mid-corner grip
-
Corner exit
-
Acceleration
-
Rough-ground control
-
Jump take-off
-
Landing behaviour
Do not judge a setup from one fast pass or one poor landing.
Keep notes on your phone or use a setup sheet. Record:
-
Battery
-
Wheels and tyres
-
Surface conditions
-
Weather
-
Ride height
-
Spring type
-
Preload position
-
Shock oil
-
Shock mounting positions
-
Droop settings
-
Changes made
This is especially useful in the UK, where a dry, hard-packed surface can quickly become damp, soft and slippery.
Camber and Toe Adjustments
Camber and toe also affect how the suspension and tyres behave, but ride height and shock performance should normally be set first.
A modest amount of negative camber can help maintain tyre contact during cornering. Excessive negative camber reduces the contact patch when accelerating or braking in a straight line.
Toe settings influence stability and steering response.
Small changes can make a noticeable difference, so begin with the manufacturer’s recommended settings. Make sure the left and right sides are measured consistently before testing alternatives.
Avoid using camber or toe adjustments to disguise worn suspension parts, bent links or excessive play.
Know When Replacement Parts Are Needed
Suspension adjustment cannot compensate for damaged components, worn tyres or an unsuitable vehicle setup.
Parts may need replacing if you find:
-
Leaking shock seals
-
Bent shock shafts
-
Sagging or damaged springs
-
Cracked shock bodies
-
Worn rod ends
-
Bent hinge pins
-
Loose suspension pivots
-
Damaged shock pistons
-
Contaminated shock oil
If you regularly run a heavy brushless basher, larger batteries or oversized wheels, correctly rated springs and quality shock components may be a more sensible solution than adding excessive preload.
The best upgrade is not automatically the most expensive one. It is the component that addresses the handling problem you have identified.
A well-set suspension system should make your RC vehicle easier to place, easier to recover and more enjoyable to drive. Work patiently, keep your baseline recorded and allow the surface to tell you what the model needs.
Frequently Asked Questions
What Should I Adjust First on RC Suspension?
Start by checking that nothing is bent, worn, leaking or binding. Once the suspension is mechanically sound, set the ride height using the manufacturer’s standard setup as your baseline.
Change springs, shock oil and mounting positions only after testing the vehicle from that baseline.
Does Adding Spring Preload Make the Suspension Stiffer?
Adding preload does not change the spring’s actual rate. It raises the vehicle’s resting position and changes where the suspension sits within its travel.
If a large amount of preload is needed to support the vehicle, a firmer spring may be required.
Why Does My RC Car Bottom Out?
Common causes include:
-
Ride height that is too low
-
Springs that are too soft
-
Insufficient damping
-
Excessive vehicle weight
-
Poor jump landings
-
Inadequate suspension travel
Do not assume thicker shock oil will solve every bottoming problem. Check the complete suspension setup.
Why Does My RC Car Bounce After Landing?
The springs may be releasing their energy faster than the shocks can control them. Incorrect shock oil, inconsistent shock builds, excessive preload or unsuitable springs may all contribute.
Inspect and compare all four shocks before changing the setup.
Should I Use Thicker Shock Oil?
Thicker oil may help if the suspension moves too quickly, rebounds sharply or allows excessive body movement.
It may make the model worse if it already skips across bumps or packs down over repeated impacts. Change viscosity in small steps and test on the same surface.
How Do I Stop an RC Car Traction-Rolling?
Reducing the ride height may help by lowering the centre of gravity. You can also consider adjusting springs, damping, droop, tyres or camber.
High-grip tyres and sudden steering inputs can also cause traction rolls, so suspension is only one part of the solution.
Should RC Suspension Be Soft or Stiff?
Neither is automatically correct.
Softer suspension can improve grip and control on rough or loose surfaces. Firmer suspension can improve response and reduce body movement on smoother, high-grip surfaces.
The correct setup depends on the model, terrain and driving style.
How Often Should RC Shock Oil Be Changed?
There is no fixed interval for every vehicle. Inspect the shocks regularly and rebuild them if they leak, feel inconsistent, become contaminated or no longer provide matching damping.
Models used frequently in dusty, muddy or demanding conditions may need more regular servicing.
Does a Crawler Need Maximum Suspension Articulation?
No. Excessive articulation can create unpredictable weight transfer, torque twist and poor side-hill stability.
A crawler needs controlled articulation that keeps the tyres in contact with the terrain without allowing the chassis to become unstable.
Written by RC Model Shop
This article was written by the team at RC Model Shop, one of the UK’s leading specialists in hobby-grade radio-controlled vehicles.
With years of hands-on experience selling, repairing and setting up RC cars, trucks and crawlers, we help customers choose suitable springs, shock oils, rebuild parts and suspension upgrades. Our advice is based on practical experience rather than specifications alone.
Whether you are improving a basher, preparing a buggy for the track or adjusting a crawler for technical terrain, our goal is to help you identify the real handling problem before spending money on unnecessary parts.
For expert advice or help choosing compatible RC suspension components, contact the team at RC Model Shop.