
How to Install an RC Servo Horn Correctly
30/09/2026
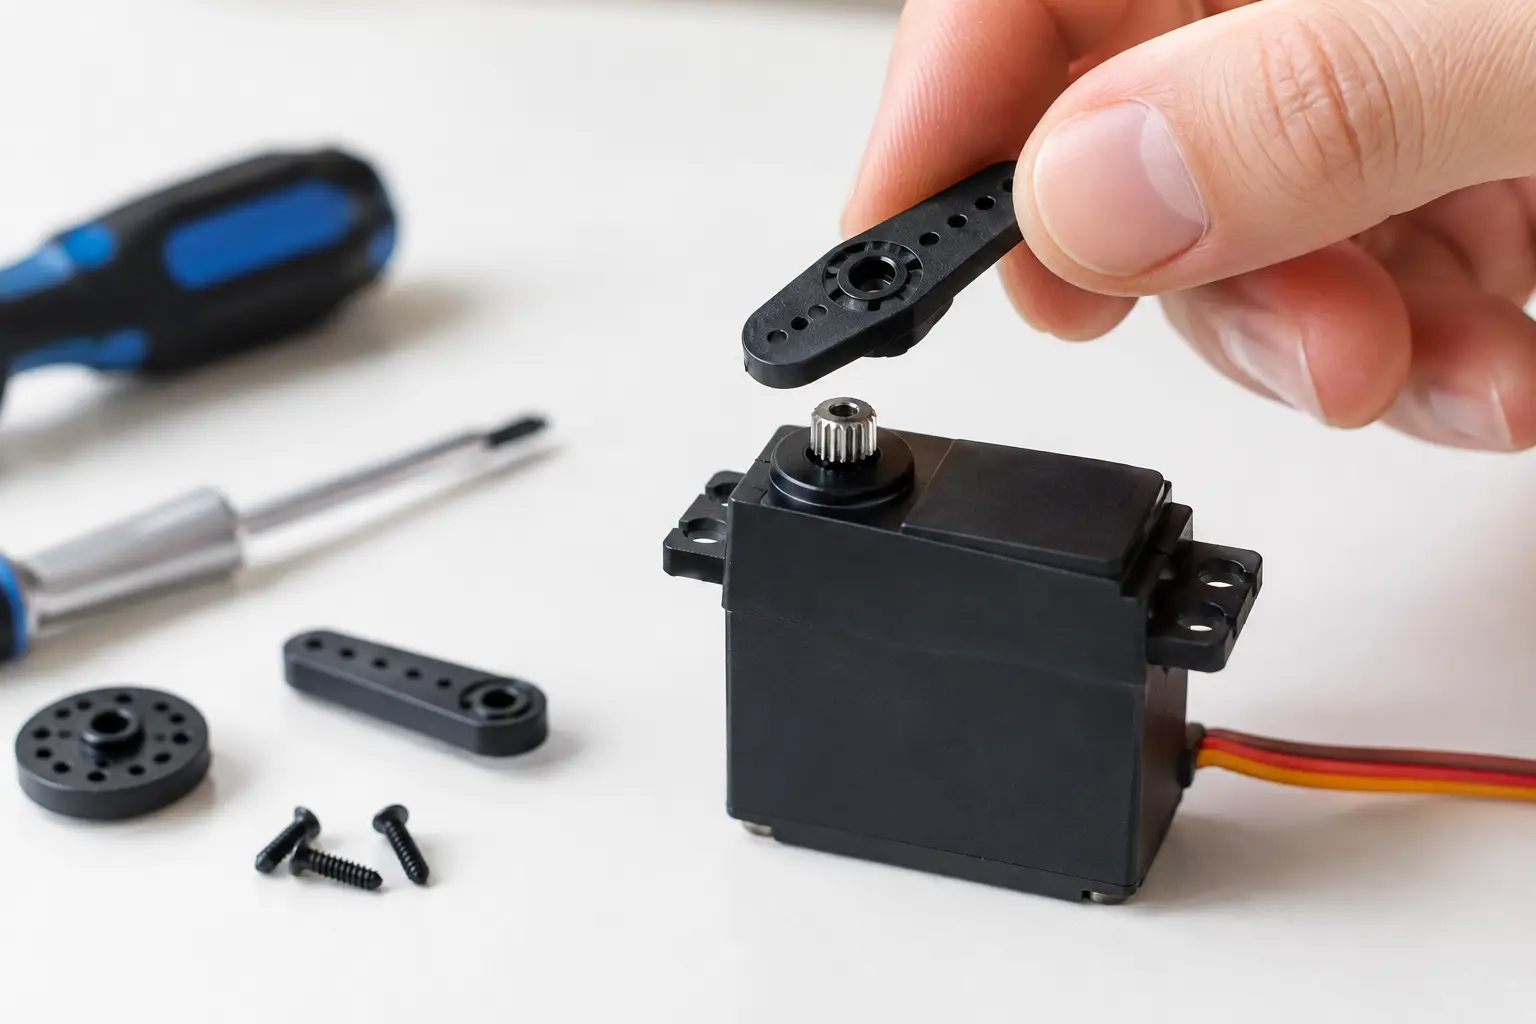
How to Install an RC Servo Horn Correctly
A steering servo can be perfectly healthy yet still make an RC car pull to one side, bind at full lock or put unnecessary strain on the servo saver. One of the most common causes is surprisingly simple: the servo horn has been fitted before the servo itself was properly centred.
Learning how to install an RC servo horn correctly only takes a few minutes, but it can make a big difference to steering accuracy, servo life and the overall feel of your RC model.
The same basic method applies to RC cars, crawlers, trucks, boats and aircraft. What changes between models is the type of horn, linkage geometry and the amount of load being placed on the servo.
Whether you are replacing a damaged horn, upgrading your steering or installing a new servo, this guide explains how to set everything up correctly.
What Does an RC Servo Horn Do?
The servo horn is the arm fitted onto the splined output shaft of the servo. It transfers movement from the servo to the steering, throttle, brake or control linkage.
On an RC car or truck, the horn will usually connect to the steering bellcrank, servo saver or steering link. On some nitro models it may also operate the throttle and brake linkage, while aircraft servos use horns to move pushrods connected to control surfaces.
The position of the servo horn is important because it determines where the linkage sits when the transmitter control is at neutral.
If the horn is installed in the wrong position, you may experience:
-
Steering that pulls to one side
-
More steering lock in one direction than the other
-
A servo buzzing at full lock
-
Steering linkage binding
-
Excessive servo saver movement
-
Increased servo wear
-
Poor steering response
Correctly centring the servo before fitting the horn avoids most of these problems.
If you are replacing or upgrading the servo itself, you can browse our range of RC servos.
Choosing the Correct Servo Horn
Most servos include one or more plastic horns, normally supplied as single-arm, double-arm, round or cross-shaped designs.
The correct horn depends on the model and the linkage arrangement.
You should choose a horn that allows the linkage to run as straight and freely as possible without touching the chassis, suspension, receiver box or body.
Servo Horn Length
The length of the servo horn also affects how the steering behaves.
A longer servo horn provides more linkage movement for a given amount of servo rotation. This can increase steering travel, but it also reduces the mechanical advantage available from the servo.
A shorter horn gives the servo more mechanical leverage but reduces the amount of linkage travel available.
For most models, it is best to stay close to the manufacturer's original servo horn length unless you have a specific reason to change it.
Plastic vs Aluminium Servo Horns
Plastic servo horns are perfectly suitable for many RC models and can provide a useful weak point during a heavy impact.
High-torque steering servos, larger bashers and crawlers may benefit from an aluminium servo horn because it flexes less under load.
However, fitting the strongest horn available is not always the best solution.
An aluminium horn transfers more impact force into the servo gears and steering system. On bashers in particular, a correctly adjusted servo saver is extremely important.
You can browse our available RC servo horns if you need a replacement or upgrade.
Check the Servo Spline Size
Before buying an aftermarket servo horn, make sure it matches the spline on your servo.
Common servo spline sizes include:
-
23T
-
24T
-
25T
The "T" refers to the number of teeth on the servo output spline.
A 25T servo horn cannot simply be fitted to every servo. Always check the servo manufacturer's specification before ordering.
Trying to force the wrong horn onto the servo can damage both the horn and the servo output shaft.
Tools Needed to Install an RC Servo Horn
The exact tools required depend on your model, but you will normally need:
-
Suitable screwdriver or hex driver for the servo horn retaining screw
-
1.5mm to 2.5mm hex drivers for clamp-style servo horns
-
Turnbuckle wrench if the steering linkage needs adjusting
-
Side cutters or pliers where required
-
Charged RC battery
-
Transmitter
Where possible, keep the original servo retaining screw.
Servo output screws are available in different sizes, lengths and thread types. Do not force an unsuitable screw into the servo output shaft.
Check the Steering Before Installing the Horn
Before switching the model on, inspect the steering system.
Make sure:
-
The servo is securely mounted
-
The steering bellcrank moves freely
-
The steering linkage is not bent
-
Ball joints move correctly
-
Nothing is catching the chassis
-
The servo saver moves correctly
-
The wheels can move from side to side without excessive resistance
If you are replacing a damaged servo horn, it is worth finding out why the original one failed.
A plastic horn can strip during a crash, but repeated servo horn failures may indicate excessive steering endpoints, a steering system that is binding or a servo saver that has been adjusted too tightly.
How to Install an RC Servo Horn Step by Step
1. Remove the Existing Servo Horn
Remove the centre retaining screw and carefully lift the servo horn away from the output shaft.
Disconnect the steering linkage if necessary.
Avoid levering heavily against the servo case or output shaft.
If the horn is difficult to remove, gently rock it from side to side while pulling upwards.
2. Switch the Transmitter On
Always switch the transmitter on before powering the RC model.
Check that you have selected the correct model memory if your transmitter supports multiple models.
Set the following controls back to their normal neutral positions:
-
Steering trim
-
Steering sub-trim
-
Throttle trim
-
Steering offset
-
Any relevant mixes
For steering, the trim and sub-trim should ideally be at zero before mechanically setting the steering position.
3. Power the Servo
Connect a charged battery to the model and switch the receiver or ESC on.
The servo will move to the neutral position commanded by the receiver.
Allow it to settle completely.
Do not move the steering wheel or transmitter stick while fitting the servo horn.
This is the most important part of the entire process.
The servo knows where its electronic centre position is. The removable horn does not.
Installing the horn while the servo is switched off means you are effectively guessing where its centre position is.
4. Point the Wheels Straight Ahead
Position the front wheels as close to straight ahead as possible.
Check the steering bellcrank and servo saver at the same time.
The steering system should be sitting naturally in its centre position rather than being forced against the servo.
5. Position the Servo Horn
With the servo powered and centred, gently place the horn onto the servo output spline.
For many RC car steering systems, the horn will sit approximately 90 degrees to the servo body when centred.
However, this is not a universal rule.
Some models use a slightly different servo horn angle because of their steering geometry. If the instruction manual specifies a particular position, follow the manufacturer's setting.
Because the servo shaft uses splines, you may not be able to achieve a perfect 90-degree angle.
Move the horn around the spline until you find the position closest to the required angle.
6. Secure the Servo Horn
Once positioned correctly, install the retaining screw.
The screw should be secure, but do not overtighten it.
Overtightening a plastic servo horn can damage the horn or spline.
If using an aluminium clamp-style servo horn, position the horn first and then tighten the clamp screw or screws evenly.
A small amount of suitable threadlock can sometimes be used on metal-to-metal clamp screws, but keep threadlock away from plastic components and the servo output shaft.
7. Reconnect the Steering Linkage
With the wheels still pointing straight ahead, reconnect the steering linkage to the servo horn.
The linkage should reach the horn naturally.
You should not have to pull or push the horn significantly to connect the linkage.
If the linkage does not line up correctly, adjust the steering turnbuckle or linkage length.
Do not rotate the servo horn away from its correctly centred position simply to make the linkage fit.
This is particularly important when installing an aftermarket servo horn, as the hole spacing or offset may be different from the original part.
Setting the Steering Endpoints
Once the horn and linkage are fitted, the next step is checking the steering travel.
Slowly turn the transmitter steering wheel fully left and then fully right while watching the steering mechanism.
Look for:
-
Tyres touching suspension components
-
Steering links hitting the chassis
-
Bellcranks reaching their mechanical stops
-
Servo saver binding
-
Servo horn contacting another component
-
Continuous servo buzzing
The steering should reach useful full lock without the servo continuing to push against the mechanical limits of the steering system.
If the servo is still trying to move after the steering has reached its maximum mechanical travel, reduce the steering endpoint or EPA setting on the transmitter.
Why Servo Endpoints Matter
Incorrect endpoints are one of the easiest ways to shorten the life of an RC servo.
For example, the steering mechanism may physically reach full lock at 80% servo travel.
If your transmitter continues commanding the servo to 100%, the servo will continue attempting to move even though the steering cannot move any farther.
This can cause:
-
Servo buzzing
-
Excessive current draw
-
Servo overheating
-
Damaged servo gears
-
Stripped servo horns
-
Premature servo failure
Set the endpoints according to the actual steering mechanism rather than simply using the maximum available transmitter travel.
Check Steering With the Suspension Compressed
Crawler and off-road RC owners should also check the steering while moving the suspension through its travel.
On some models, suspension compression changes the relationship between:
-
Steering links
-
Tyres
-
Axles
-
Chassis
-
Suspension arms
A steering system that appears completely free with the model sitting normally could potentially bind when the suspension is fully compressed.
Compress each side of the suspension manually and check the steering at full left and right lock.
Getting the Servo Horn Angle Right
A servo horn sitting at exactly 90 degrees is a useful starting point, but correct steering geometry is more important than achieving a visually perfect angle.
Ideally, the horn and steering linkage should operate through their range smoothly and with reasonably balanced geometry.
Poor servo horn positioning can result in:
-
More steering in one direction
-
Reduced steering in the opposite direction
-
Increased sideways load on the servo output shaft
-
Inconsistent steering speed
-
Steering that does not return properly to centre
Where the model's instruction manual provides a specific servo horn position, always use that as your starting point.
Should You Use Steering Trim or Sub-Trim?
Once the servo horn and linkage are mechanically centred, small steering adjustments can be made using transmitter trim.
Sub-trim can also be useful for correcting the small difference created when the perfect mechanical position falls between two servo spline positions.
However, only use small amounts.
If a large amount of trim or sub-trim is required to make the wheels point straight, check:
-
Servo horn position
-
Steering linkage length
-
Turnbuckle adjustment
-
Servo saver position
Mechanical adjustment should do most of the work.
Common RC Servo Horn Installation Mistakes
Installing the Horn With the Servo Switched Off
This is probably the most common mistake.
Without powering the servo first, you do not know where its electronic neutral position is.
The result is usually crooked steering once the model is switched on.
Using Steering Trim to Correct a Bad Horn Position
It can be tempting to install the horn and then use large amounts of steering trim to make the wheels look straight.
Although this may visually centre the wheels, it can leave unequal servo travel in each direction.
Mechanically centre the servo horn first and use trim only for minor adjustments.
Using the Longest Servo Horn Hole
Moving the linkage farther out along the servo horn increases steering movement.
However, it also increases the load on the servo.
Start with the linkage position recommended by the vehicle manufacturer or one that closely matches the original setup.
Overtightening a Plastic Servo Horn
The centre screw needs to be secure, but excessive force can damage the servo horn spline.
If the horn remains loose even when the retaining screw is fitted properly, inspect the horn and servo spline for damage.
Ignoring a Buzzing Servo
A brief servo noise while returning to centre is usually nothing to worry about.
Continuous buzzing at neutral or full steering lock is different.
It normally means the servo is fighting against resistance or trying to travel beyond the mechanical limits of the steering system.
Correct the cause rather than allowing the servo to continuously strain.
When Should You Replace a Servo Horn?
Replace the servo horn if you notice:
-
Rounded or stripped splines
-
Cracks around the centre
-
Excessive movement on the servo shaft
-
A visibly bent or twisted horn
-
Damaged linkage mounting holes
After a particularly heavy crash, it is also worth inspecting both the servo horn and servo saver.
A damaged plastic servo horn may actually have prevented the impact from damaging the more expensive servo gears.
Is an Aluminium Servo Horn Worth It?
For some models, absolutely.
High-torque servos and heavier RC vehicles can flex a standard plastic servo horn during steering.
An aluminium horn can provide a more positive and precise steering feel.
They are particularly popular on:
-
RC crawlers
-
Large-scale models
-
1/8 scale bashers
-
High-torque steering setups
-
Competition vehicles
However, remember that removing one weak point means crash forces can be transferred elsewhere.
If you install an aluminium servo horn on a basher, make sure the servo saver is still able to perform its job properly.
FAQs About Installing RC Servo Horns
Should the servo horn be at 90 degrees?
For many RC steering systems, approximately 90 degrees is a good starting point when the servo is centred. However, some chassis use different steering geometry, so always check the manufacturer's instructions where available.
Should I centre the servo before fitting the horn?
Yes. Switch on the transmitter, set the steering trim to neutral and power the servo before installing the servo horn. This allows the servo to move to its true electronic centre position.
Why are my wheels not straight after fitting a servo horn?
The horn may be one spline away from the ideal position, or the steering linkage may need adjusting. Mechanically centre the system before making small final corrections with transmitter trim or sub-trim.
Why does my servo buzz at full steering lock?
The servo may be trying to move farther than the steering mechanism physically allows. Reduce the steering endpoint until full lock is reached without the servo continuously straining.
Can I replace a plastic servo horn with an aluminium one?
Yes, providing the aluminium horn has the correct spline size and suitable dimensions for the vehicle. Keep in mind that an aluminium horn transfers more impact force to the servo and steering system.
What does 25T mean on a servo horn?
25T means that the servo horn has 25 spline teeth. The horn must match the spline specification of your servo.
Can the wrong servo horn damage a servo?
Yes. An incorrect spline size, excessive horn length, poor steering geometry or incorrectly adjusted endpoints can place excessive strain on the servo.
Why does my RC car turn farther one way than the other?
This can be caused by an incorrectly positioned servo horn, incorrect linkage length, transmitter trim, poor steering geometry or unsuitable endpoint settings.
Which servo horn hole should I use?
Start with the position recommended by the manufacturer or the hole that most closely matches the original setup. Moving the linkage farther out increases travel but also increases the load placed on the servo.
Do I need threadlock on a servo horn?
Threadlock may be useful on certain metal-to-metal screws used by aluminium clamp-style servo horns. Avoid getting threadlock on plastic components or inside the servo output shaft.
Final Thoughts
Correctly installing an RC servo horn is a small job that can make a noticeable difference to how your model drives.
The important part is the order in which you set everything up.
Centre the transmitter controls first, power the servo so it finds its true neutral position, install the horn as close to the correct angle as possible, adjust the linkage mechanically and then set the steering endpoints.
Avoid relying on large amounts of transmitter trim to compensate for poor mechanical setup.
Once everything is installed, check the steering through its full range and make sure the servo is not buzzing or fighting against the steering stops.
A properly centred servo horn, free-moving steering linkage and correctly adjusted endpoints will normally do more for steering performance and servo life than simply fitting stronger parts.
If you are repairing or upgrading your RC steering setup, take a look at our range of RC servos and RC servo horns.
Written by RC Model Shop UK