
Axial Crawler Setup Guide for Better Trail Runs
17/08/2026
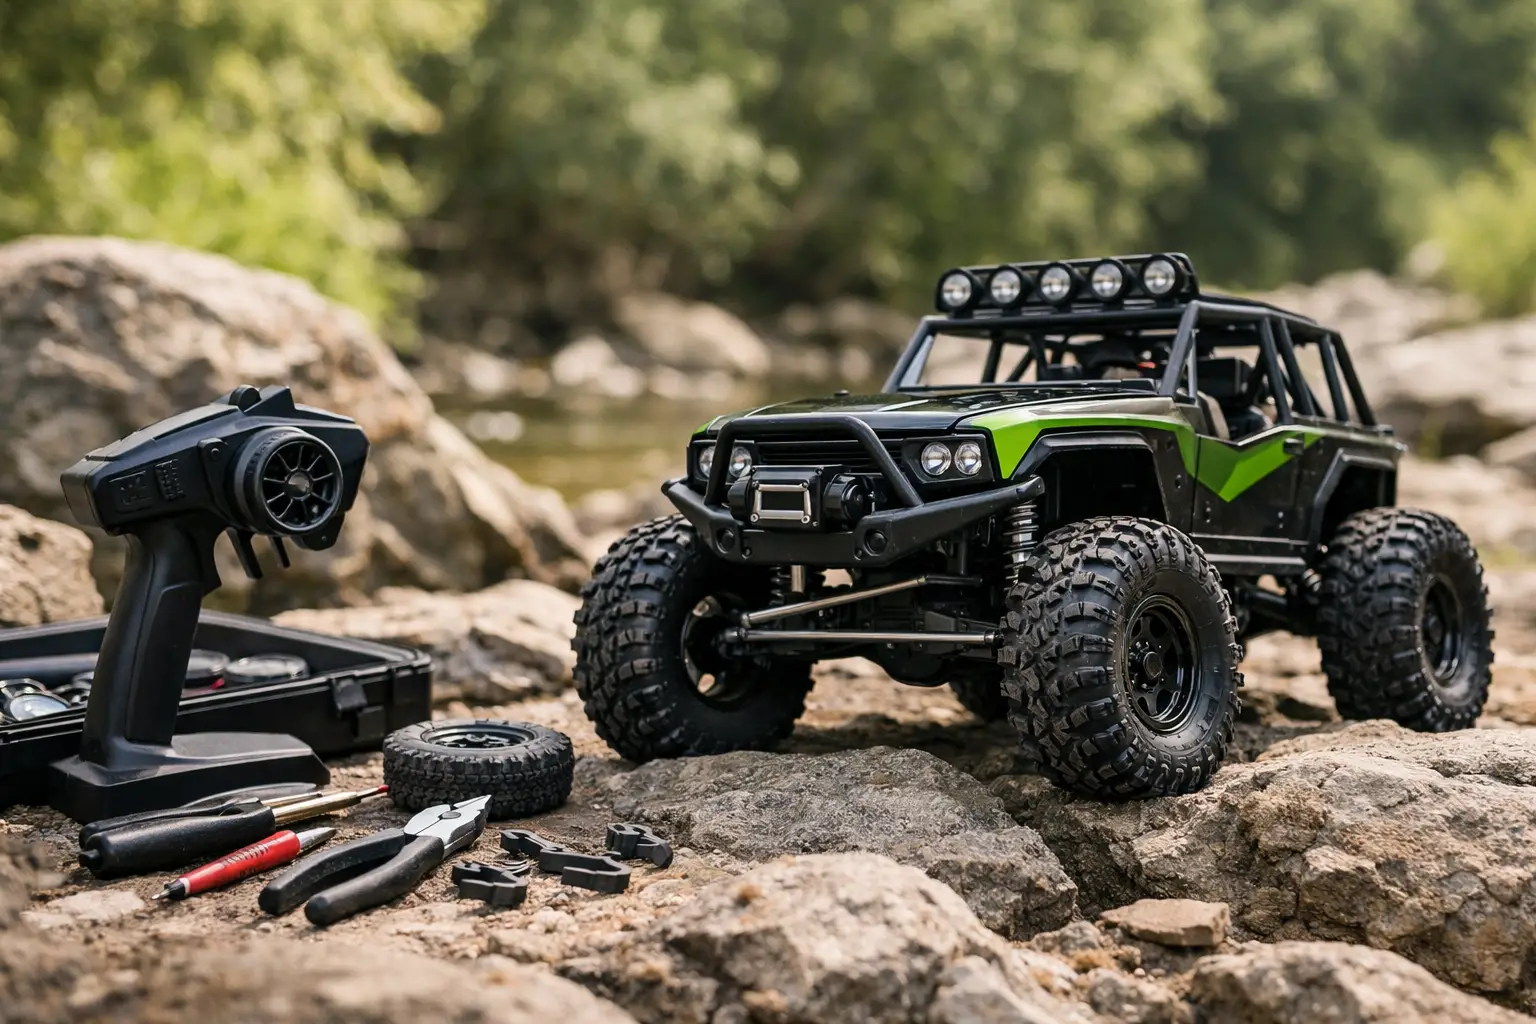
A crawler that rolls over on side slopes, hops on steep rock or drags its chassis through every rut is rarely beyond saving. Usually, it needs a few sensible adjustments rather than a basket of expensive upgrades.
This Axial crawler setup guide focuses on the checks and adjustments that can make the biggest difference to control, reliability and enjoyment on UK trails.
The right setup depends on your model, terrain and driving style. A scale-focused SCX10 may benefit from a different approach to a Capra built for technical rocks, while a wet woodland route asks more from tyres and waterproofing than dry gravel.
Start with a sound baseline, make one change at a time, and test it on the same obstacle where possible.
Start with a proper bench check
Before changing suspension settings or fitting upgrades, check that everything moves freely.
With the battery removed, turn the wheels lock to lock and compress each corner of the suspension. The steering should not bind, the links should not foul the tyres, and the shocks should return smoothly without sticking.
Check wheel nuts, steering hardware, driveshaft grub screws and motor mounting screws. Crawlers run slowly, but the repeated load from tyres gripping rocks can work loose hardware over time.
A small amount of threadlock belongs on metal-to-metal screws, such as pinion and driveshaft fittings, but never on screws going into plastic.
Inspect the bearings while each axle is off the ground. A gritty or tight bearing makes the drivetrain less efficient and can make a capable crawler feel flat or inconsistent.
If the model has been used in wet mud, clean it before adjusting anything. Setting up a vehicle around dried mud and seized joints is wasted effort.
Set ride height before chasing suspension upgrades
Ride height affects climbing ability, side-hill stability and ground clearance.
Too high, and the crawler becomes top-heavy. Too low, and the chassis catches on ledges and roots before the tyres can do their job.
For most Axial trail crawlers, aim for lower links that sit close to level when the vehicle is resting under its own weight, with the battery fitted. Exact positions vary by chassis and shock layout, so use this as a starting point rather than a fixed rule.
The vehicle should still have enough droop to keep the tyres in contact with uneven ground.
If your model leans excessively in corners or tips backwards on climbs, reduce ride height before fitting stiffer springs. Adjusting the spring preload collars is normally the simplest place to start.
Stiffer springs can help a heavily accessorised scale build, but they often reduce articulation and grip if they are being used simply to correct an overly tall setup.
A little chassis torque twist under power is normal on a shaft-driven crawler. If it is severe, first make sure both rear shocks are working equally and that spring preload is not wildly different from side to side.
Some owners use a small preload difference to counter torque twist, but keep changes modest. A crawler should remain predictable when turning both left and right.
Use shock oil with a purpose
Shock oil controls how quickly the suspension moves, while springs support the model's weight. These two jobs are often confused.
If the chassis bounces after dropping off a rock, slightly thicker oil may help. If it sits too low or bottoms out constantly, consider preload or springs first.
For general trail use, smooth and consistent shocks matter more than chasing a particular oil weight. Rebuild leaking shocks, remove trapped air and ensure both sides have matching oil levels.
A perfectly tuned setup on one corner and a half-empty shock on the other will not deliver useful results.
If you need to rebuild or experiment with your crawler's damping, browse our RC shock oils to find different oil options for your setup.
Tyres, foams and wheel weight
Tyres are usually one of the most noticeable performance changes you can make to an Axial crawler.
A soft compound with an appropriate tread pattern can improve grip on rock, wet roots and loose soil more than extra motor power ever will. However, soft tyres wear faster on abrasive ground and may feel vague at speed.
Choose tyres for the surface you actually drive.
Open, widely spaced tread clears mud well but can feel less secure on smooth rock. A closer-pattern scale tyre may look right and run quietly on trails, but it can struggle in deep mud.
Tyre diameter also changes effective gearing and ground clearance, so confirm there is no rubbing at full steering lock and suspension compression.
You can browse our range of RC rock crawler and bouncer tyres when choosing tyres for your crawler.
Don't overlook the foams
Foams deserve equal attention.
If the tyre folds over excessively on side slopes, the foam may be too soft for the vehicle's weight. If the tyre skates across rocks instead of conforming to them, it may be too firm.
Heavier brass wheels, hubs or portal weights can lower the centre of gravity, but weight is not automatically an upgrade.
Too much unsprung weight can overwork the steering servo, strain drivetrain components and make the axles less responsive over rough terrain.
Add weight low down and test the crawler before adding more.
Front weight bias can help climbing, especially on a short-wheelbase model, but excessive front weight can make descents less controlled and reduce rear tyre traction.
Steering setup that protects the servo
Correct steering setup can improve control while also protecting the servo.
Set the steering end points on the transmitter with the vehicle switched on and the front axle unloaded. Increase each side until the tyres reach a useful steering angle, then back the setting off slightly if the servo hums or the linkage binds.
Do not rely on the steering servo to force the wheels against the axle or chassis stops.
A stronger servo can be worthwhile when fitting larger tyres, heavier wheels or brass steering components, but it needs a suitable power supply.
Many high-torque servos perform poorly when fed by a low-voltage or insufficient receiver supply. Check the ESC or receiver's BEC rating and the servo's supported voltage before connecting anything.
If an external BEC is used, wire it correctly and follow the component manufacturer's instructions carefully.
For other options, browse our full range of RC servos.
Keep the steering link geometry sensible as well.
Excessive bump steer, where the wheels turn as the suspension moves, makes a crawler wander on uneven ground. Bent links, loose rod ends and worn servo horns should be replaced rather than adjusted around.
Gearing and electronics for slow control
Crawler performance is about precise throttle response, not headline speed.
A lower gear ratio gives better low-speed control and reduces motor load under difficult conditions, although it also lowers top speed.
If you have fitted taller tyres or regularly crawl steep technical ground, a smaller pinion can be a practical change.
After any gearing adjustment, run the model for around ten minutes on your usual terrain and check the motor and ESC temperatures carefully.
Some warmth is expected. Excessive heat means the system is working too hard and needs investigating.
Binding transmission parts, an overtight gear mesh or an excessively heavy vehicle can cause heat even when the gearing appears sensible.
Brushed and brushless crawler setups
For brushed systems, inspect the motor after muddy runs and replace or service components if low-speed control becomes erratic.
For brushless sensored systems, use a gentle start mode and adequate drag brake rather than simply selecting the maximum settings.
Too much drag brake can make the vehicle pitch forward sharply on descents and upset traction. Adjust it until the crawler holds a slope without feeling as though the wheels have locked solid.
Choose the right crawler battery
Use a battery that suits the model's battery tray, connector and recommended voltage.
A heavier battery can improve front weight bias in some layouts, but it may also raise the centre of gravity depending on where the battery sits.
Secure the battery properly. A loose battery changes the handling characteristics of the vehicle and can damage wiring during a rollover.
Do not increase battery voltage beyond the manufacturer's specification simply to gain more performance. Crawlers benefit far more from smooth low-speed control and sensible gearing than excessive wheel speed.
Test your setup on the trail, not just the workbench
A good Axial crawler setup is proven slowly.
Take a familiar section of trail and drive a climb, an off-camber section and a controlled descent several times. Watch what the vehicle does rather than trying to force it through with additional throttle.
If it flips sideways, lower the ride height or review tyre and foam support.
If it lifts a front wheel and struggles to turn, inspect steering travel and front weight distribution.
If it bounces and loses grip, focus on shock action and throttle input.
Make one adjustment, then repeat the same line.
Changing tyres, springs, gearing and electronics at the same time makes it almost impossible to know which change actually improved the crawler.
Axial crawler setup FAQs
What is the best ride height for an Axial crawler?
There is no single measurement that works for every Axial crawler. As a starting point, keep the chassis reasonably low while retaining enough suspension travel and ground clearance for your terrain.
A lower centre of gravity generally improves climbing and side-hill stability.
What is the best upgrade for an Axial crawler?
Tyres are often one of the most effective upgrades, particularly if the original tyres do not suit your usual terrain.
Before buying upgrades, however, make sure the suspension, steering, drivetrain and existing tyres are working correctly.
Should I add brass weights to my crawler?
Brass components can lower the centre of gravity and improve stability, but more weight is not always better.
Excessive unsprung weight increases the load on the steering servo and drivetrain. Add weight gradually and test the crawler after each change.
Why does my RC crawler keep tipping over?
A high centre of gravity is a common cause. Excessive ride height, heavy accessories mounted high on the body, unsuitable tyres or very soft tyre foams can all contribute.
Look at the complete setup rather than immediately replacing the suspension.
Why does my crawler bounce when climbing rocks?
Check shock movement and throttle control first. Shocks that are too lightly damped can allow the chassis to bounce, while sudden throttle inputs can cause the tyres to break traction.
Drivetrain binding can also make low-speed power delivery inconsistent.
Do I need a more powerful steering servo?
Not necessarily.
If the existing servo cannot turn the wheels reliably under load, particularly after fitting larger tyres or additional axle weight, an upgraded servo may help.
Before replacing it, check steering end points, linkage movement and the power available from the ESC's BEC.
Should crawler tyres be soft?
Crawler tyres generally benefit from being able to conform to uneven surfaces, but a tyre that is too soft for the vehicle's weight can fold over during side-hilling.
Tyre compound and foam support need to work together.
Is a faster motor better for an RC crawler?
Usually not.
For technical crawling, smooth low-speed control is considerably more useful than outright speed. Sensible gearing and predictable throttle response make difficult sections easier to drive.
Get your Axial crawler setup working properly
The best crawler is not necessarily the one with the longest upgrade list.
It is the one that starts reliably, remains composed on the terrain you enjoy and gives you the confidence to attempt the next difficult line.
Start with the basics, identify what the crawler is actually doing wrong, make one adjustment at a time and test the result. You may find that a few careful setup changes transform the vehicle without replacing half of it.
Written by RC Model Shop
This article was written by the team at RC Model Shop, one of the UK's leading specialists in hobby-grade radio-controlled vehicles.
With years of hands-on experience selling, repairing, setting up and upgrading RC crawlers, cars, boats and aircraft, we regularly help customers diagnose handling problems and choose compatible parts for their models.
Crawler setup is an area where buying more parts does not automatically produce a better vehicle. Tyre compound, foam support, suspension damping, ride height, steering geometry, servo power, gearing and weight distribution all need to work together.
Our advice is based on practical RC experience and helping customers get more from the models they already own rather than simply recommending unnecessary upgrades.
Whether you're setting up an Axial SCX10 for UK woodland trails, improving a Capra for technical rock crawling or trying to make your first crawler more predictable, our team can help you choose parts that suit the model and the terrain you actually drive.
For crawler setup and upgrades, browse our RC rock crawler tyres, RC shock oils and RC servos.